

PERMISSIONS REQUIRED: You must have Administration Permissions or have the can use bulk edit appointments permission.
Administrators are able to edit future Appointment Locations in bulk. If an Invoice or a Signed Progress Note is already attached to an Appointment, you will not be able to select it for bulk edits.
Bulk Edit Appointment Location
- Click Schedule in the navigation bar.
- Click Bulk Edit Appointments.
- Select the original Location and Room for Appointments that you want to change.
- Select the Client(s).
- Click Search. All future individual Appointments that meet your search criteria display.
- Select checkbox for appropriate Appointments. Or Select All at top.
- Click Edit.

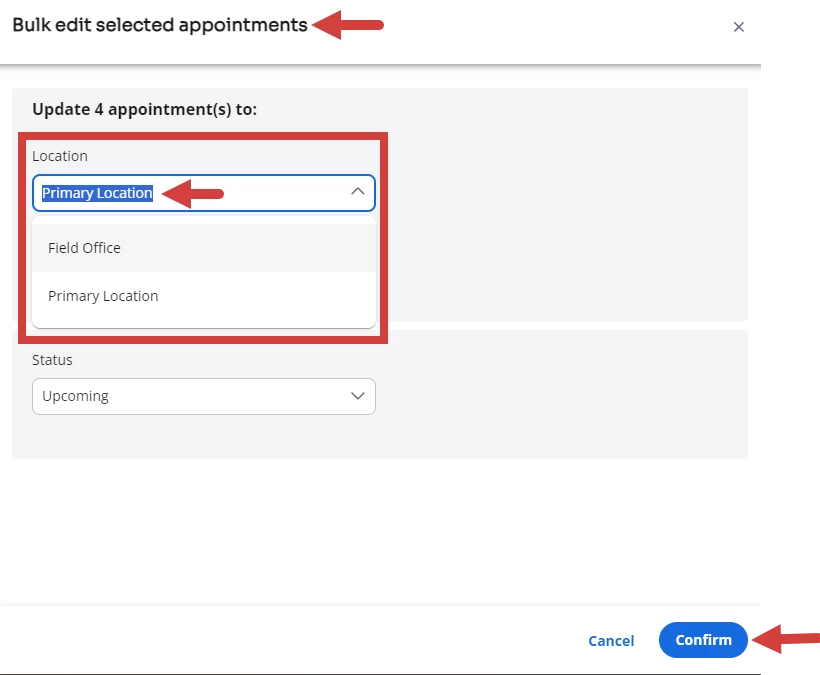
-
Original Location displays on left. Select New Location and Room on the right.
NOTE: If Advanced Availability is enabled, you will get a warning message to let you know when a location change for specified dates conflicts with the staff member's availability. See FAQ: Advanced Availability for more information.
- Click Update Appointments.
Bulk Edit Appointment Status to Canceled
- Click Schedule in the navigation bar.
- Select Bulk Edit Appointments.
- Select the Date Range, Location/Rooms, Staff, and/or Client Appointments you want to mark as canceled.
- Your filtered results will show in the grid below. Select the appointments you want to update to the status of Canceled.
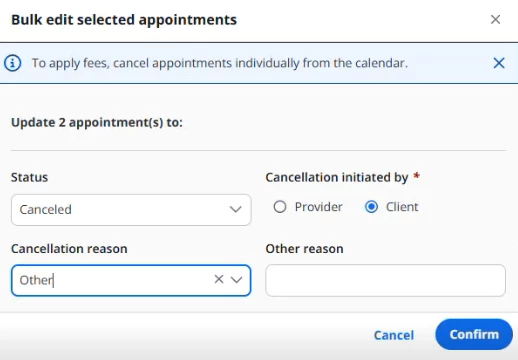
NOTE: If you would like to apply cancellation fees, individually cancel the appointments from the calendar.
- Click Edit.

- Update the Status drop down from Upcoming to Canceled.
- Select if the cancellation(s) were initiated by the Provider or the Client.
- Select a Reason from the pre-defined options or select Other and input Cancellation Reason.
NOTE: The cancellation reason will appear the same on all appointments that are bulk canceled.
- Click Confirm.
- A message displays to confirm changes were successful or show any conflicts you need to address before the changes are made.

Bulk Delete Appointments
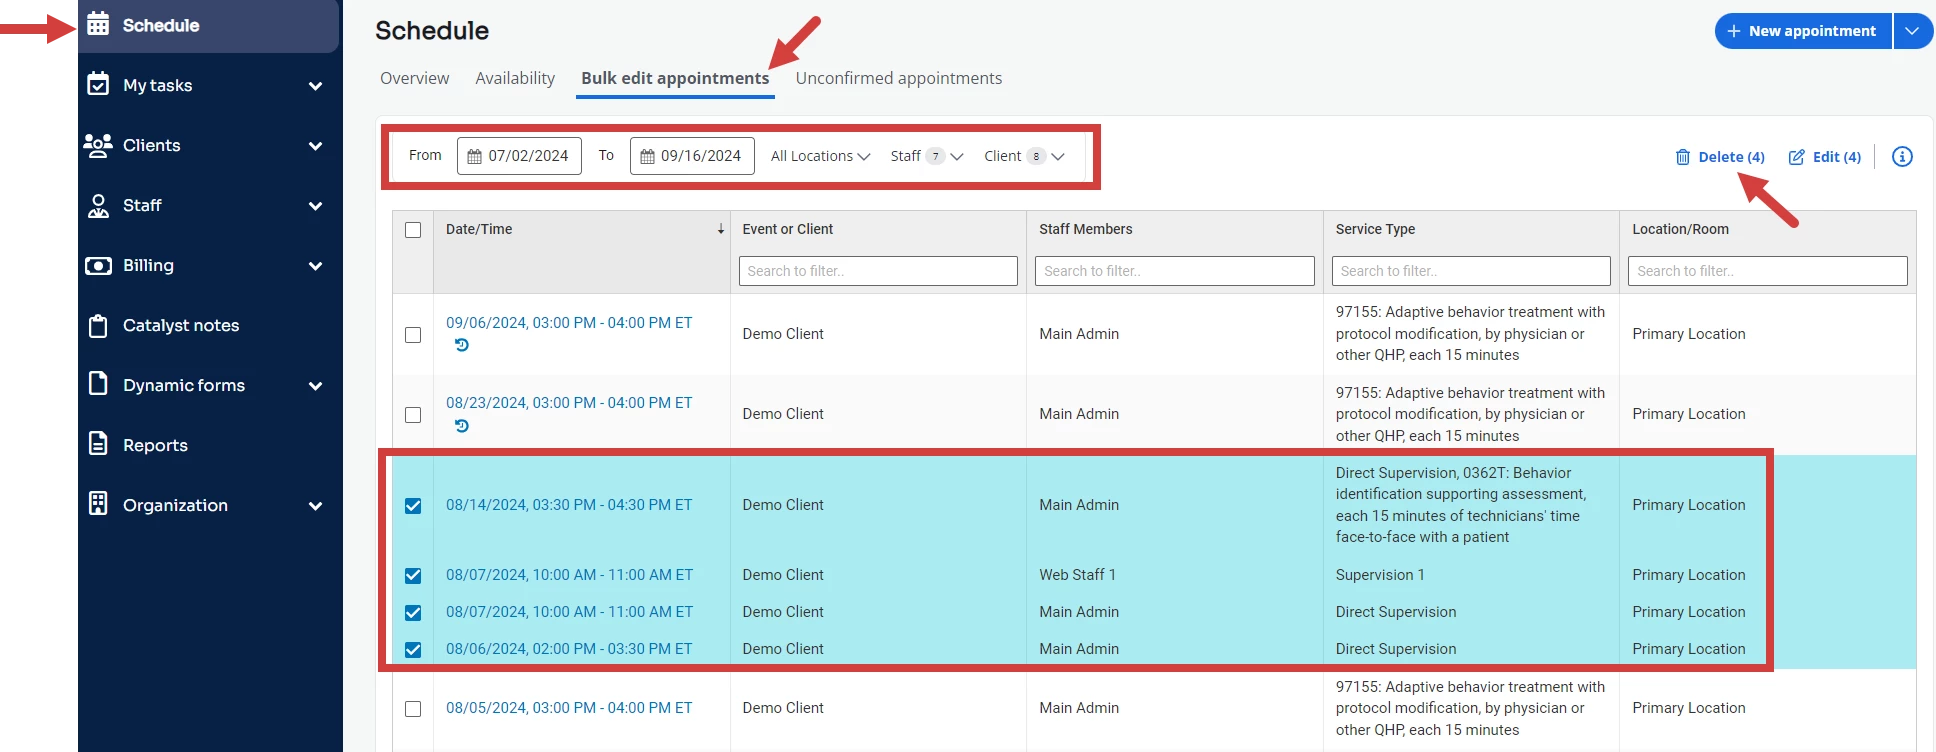
- Click Schedule in the navigation bar.
- Select Bulk Edit Appointments.
- Select the Date Range, Location/Rooms, Staff, and/or Client appointments that you want to delete.
- Your filtered results will show in the grid below. Select the appointments that you want to delete.
- Click Delete.
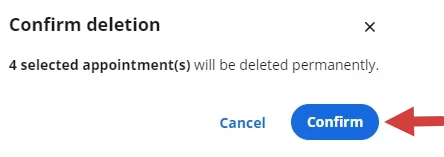
- Click Confirm on the confirmation window.
- You will receive a message if your bulk changes were successful or if any conflicts arise that should be addressed first before the changes will be made.
