


Single Sign-On (SSO) is a convenient feature that enables you to access multiple accounts using a single set of login credentials. It eliminates the need to remember multiple passwords. For administrators, SSO offers a centralized method to oversee all accounts and control user access effectively. This is made possible through an Identity Provider (IdP).
We prioritize the security of your account and have thoroughly evaluated and approved several Identity Providers (IDPs), such as OneLogin, Okta, and Google Cloud. We cannot connect to another IDP at this time.
Set Up Single Sign-On
- Request Feature Activation
- Contact Support to have them activate the Single Sign-On (SSO) feature your account. Your organization administrator will then configure your account.
- Contact Support to have them activate the Single Sign-On (SSO) feature your account. Your organization administrator will then configure your account.
- IdP Configuration
- Your Organization Administrator will create and configure an account with an approved Identity Provider (IdP) like OneLogin, Okta, or Google Cloud. After your account is configured, you can access the benefits of Single Sign-On with the system.
- Your Organization Administrator will create and configure an account with an approved Identity Provider (IdP) like OneLogin, Okta, or Google Cloud. After your account is configured, you can access the benefits of Single Sign-On with the system.
- SSO Setup
- Once activated, head to your Organization and select Settings.
- Look for the new tab labeled SSO Configuration.
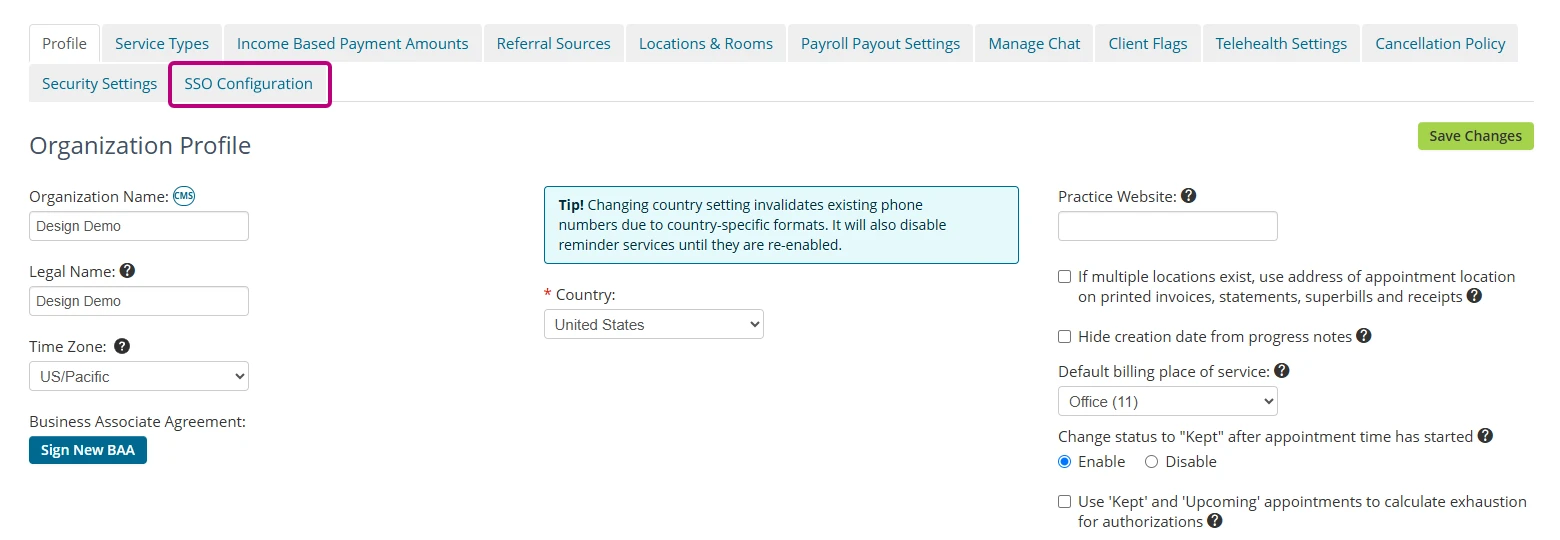
- Click Yes for the Enable SSO setting.
- Fill in the Issuer URL, Client ID, and Client Secret provided by your IdP.
- Configure for Other Staff
- Congratulations! You're now ready to use SSO. To extend this feature to your staff, go to Staff Details for each individual and enable the SSO feature.
- Staff members who have SSO enabled will need to enter their email at login.
NOTE: Staff with the feature disabled will continue to enter their email and password.