

Progress notes are an essential component of client care. Progress Notes may be added once Service Entry is complete and can be accessed by multiple staff from multiple screens.
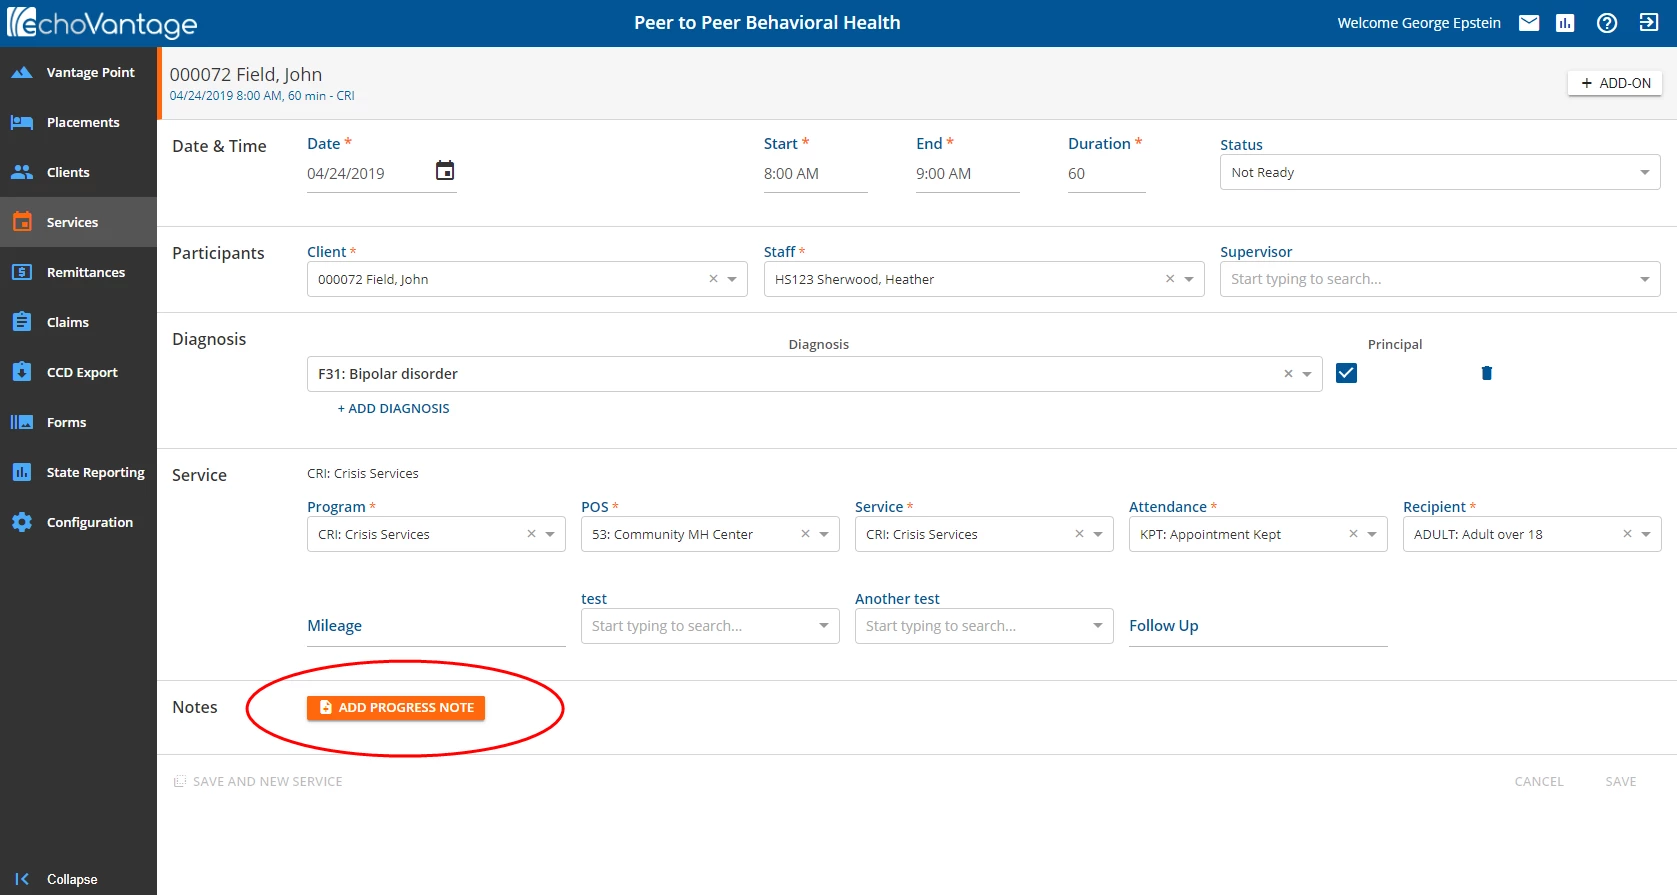
Click on the enabled Add Progress Note button to display the Progress Note entry screen. The screen that displays depends on the form assigned to the Progress Note in the Service Definitions.
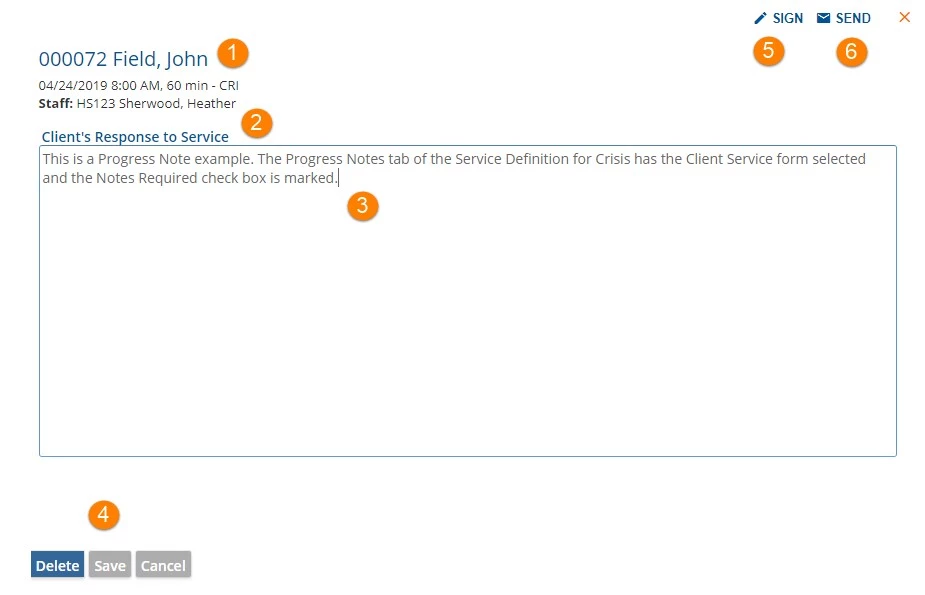
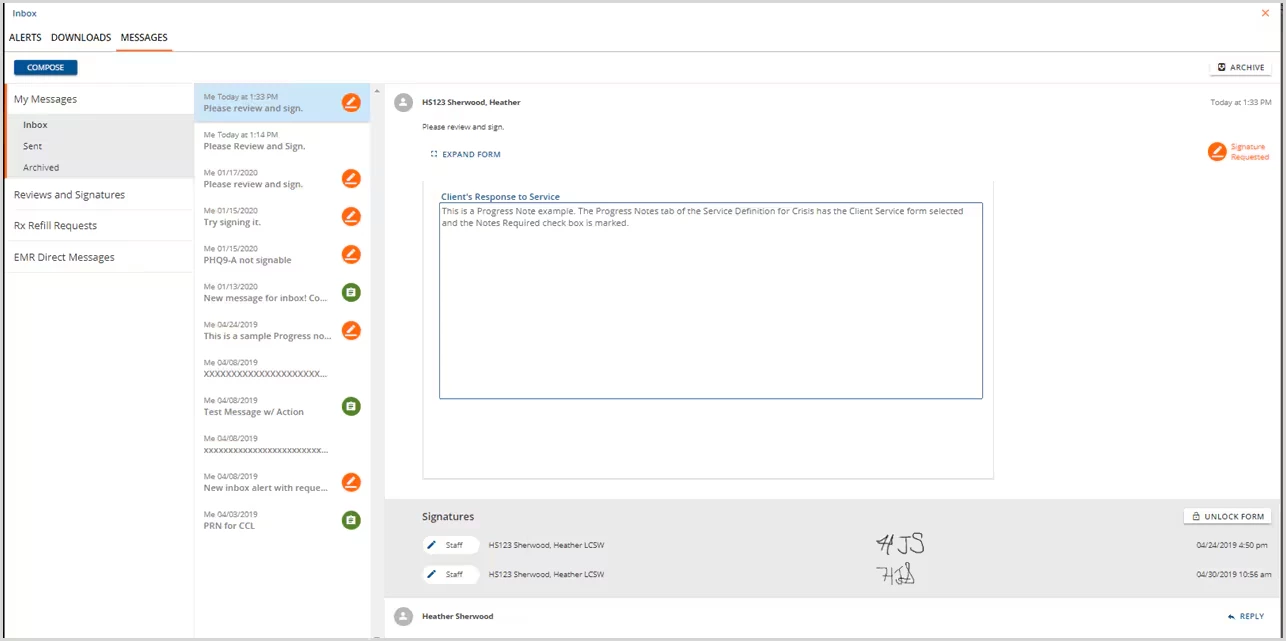
1. The Progress Note displays summary information for the Service to which it is attached.
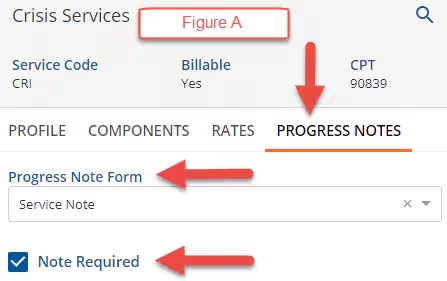
2. The note title indicates the type of Progress Note based on the form assigned to the Notes in Service Definitions. See Figure A for the Progress Notes tab Service Definition for this example.
3. Enter the Notes here. This is a free text field.
4. Action Buttons
- On a new entry or edit the Save button will be enabled. Click Save to record the Progress Note when finished.
- On a new entry or edit, the Cancel button will be enabled. Click Cancel to exit without saving entries or changes.
- After accessing an existing entry, the Delete button will be enabled. Click Delete to remove the Progress Note from the Service.
5. SIGN
- Select SIGN to record a signature with the Progress Note
- Select the party signing.
- The resulting dialog box will have the signer name or, in the case of Other, require entry of name and relationship.
- Use a mouse or a touch screen to record the signature.
- Choose SAVE when satisfied with signature capture.
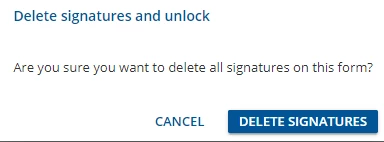
Once signed, a Progress Note is locked. It can be unlocked by clicking the UNLOCK FORM button on the Progress Note screen but will require the deletion of all signatures. The following pop-up box displays.
6.SEND*
The Progress Note form will display in the receiver's inbox when sent with either Request Review or Signature Requested.
The Review or Signature buttons are still linked to the form location in the application. A signature box will display below the form when the signature is requested. If the receiver has permission to unlock forms with signatures, an Unlock button will also be available.