

Jump to Section:
Overview
The system supports inbound faxing through integration with Interfax. Clinics can receive faxes directly in the system and manage them from a centralized fax management experience.
Inbound faxes are received into a fax queue, where authorized users can review each fax and take actions such as assigning it to a patient, creating a new patient, adding notes, archiving the fax, or downloading and printing the document.
Key Features of Inbound Faxing:
- Clinic-level inbound fax numbers
- Location-level fax number assignments
- A role-based permission for managing faxes
- A fax queue with unassigned, assigned, and archived statuses
NOTE: Admins must grant permission to users who will be managing incoming faxes. Users with this permission will only be able to manage faxes for the Locations they are assigned to. See Add & Edit Roles for Account Users for more information.
Initial Set Up
To begin the process for inbound faxing, work with Support to order your fax number and complete the setup for your system.
Link a Fax Number to a Location
Fax numbers added at the clinic level must be linked to one or more locations. A single fax number can be assigned to multiple locations.
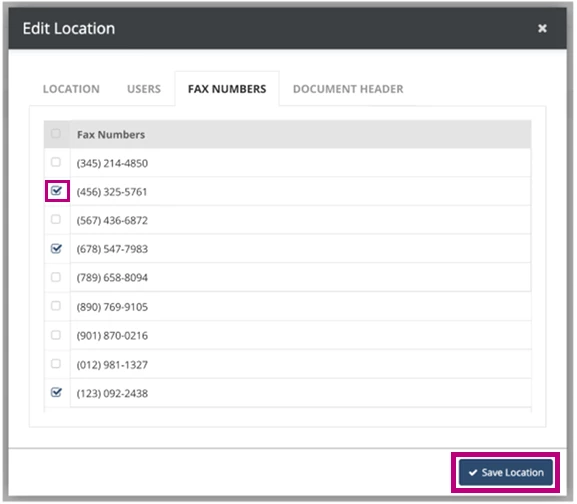
To link a fax number to a location:
- Navigate to Admin > Locations.
- Select a location.
- Open the Fax Numbers tab.
- Select the fax number(s) to assign to the location.
- Click Save Location to save the changes.
NOTE: The Phone/Fax field on the Location tab is not affected by inbound faxing, and is not automatically populated when inbound fax numbers are assigned.
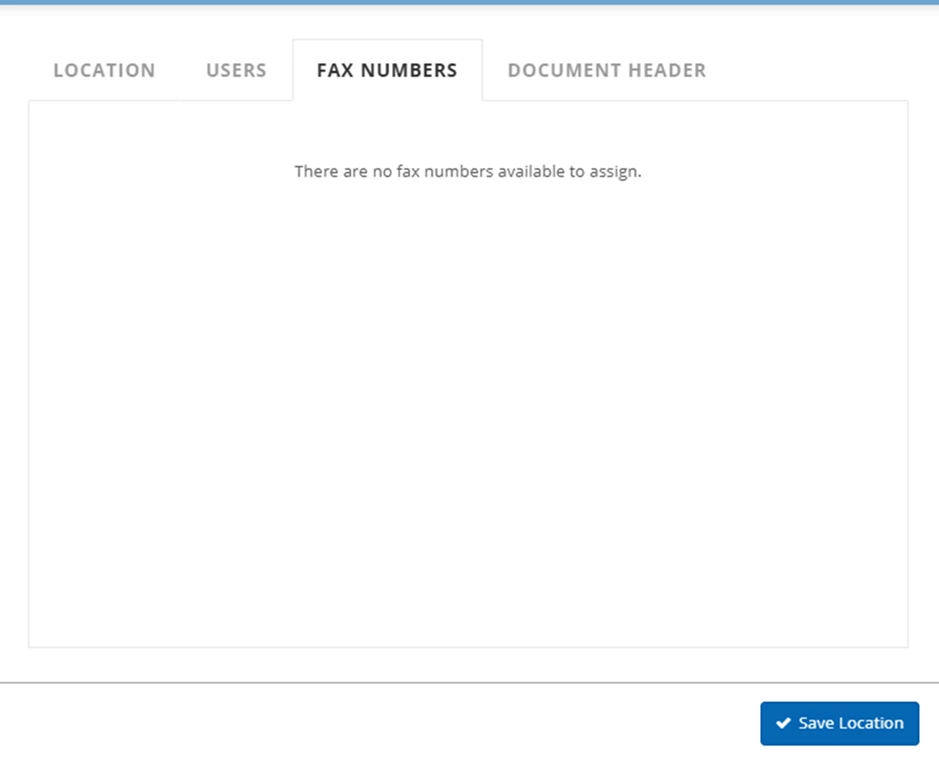
If no fax numbers have been added to the clinic, the Fax Numbers tab will display a message indicating that no fax numbers are available.
Manage Faxes
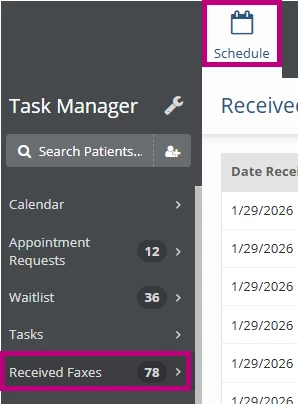
Users with permission to manage faxes can view Received Faxes from the Schedule tab. This section will not be visible to users without the permission.
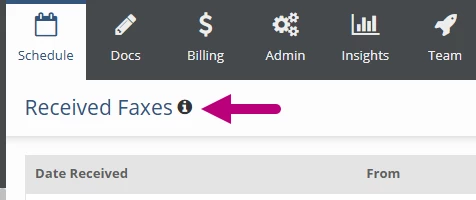
View Fax Numbers
Hover over the information icon to the right of Received Faxes to display the fax number assigned to the locations currently in view.
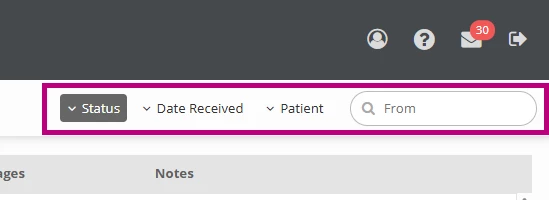
Search and Filter Faxes
The fax management window includes search and filter options to help locate specific faxes. Faxes can be filtered by Status, Date Received, or Patient.
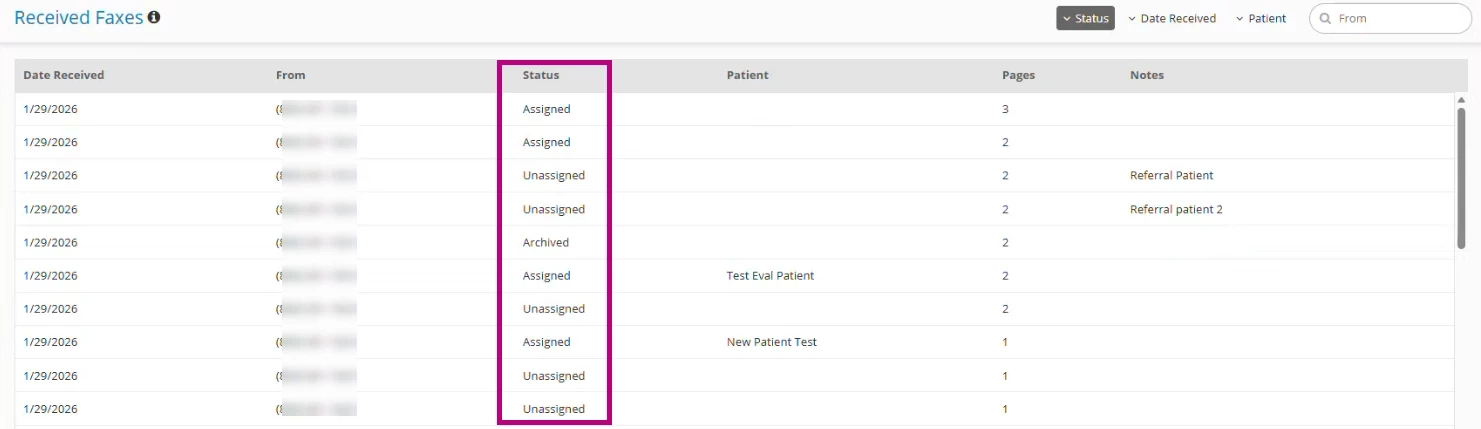
Fax Status
Each fax appears with one of the following statuses:
- Unassigned: The fax has been received but is not linked to a patient.
- Assigned: The fax has been linked to a patient.
- Archived: The fax has been archived and removed from the active queue.
Fax Preview Window
Selecting a fax opens a preview window.
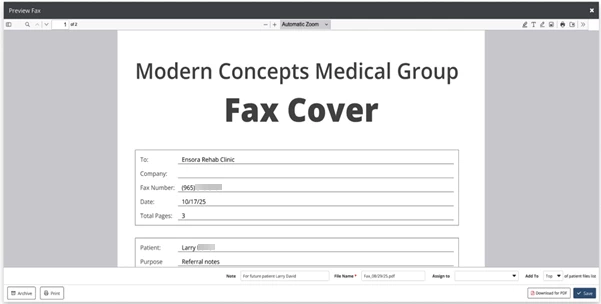
From the preview window, users can:
- View the fax content
- Add a note
- Edit the file name
- Assign the fax to an existing patient
- Create a new patient to assign the fax to
- Archive or unarchive (restore) the fax
- Archived faxes remain available and can be restored by unarchiving them. They can also be viewed in the Received Faxes list using the filter.
- Download or print the fax
Assign Fax to an Existing Patient
To assign a fax to an existing patient:
- Open the fax preview.
- Search for and select a patient in the Assign to box.
- Update the File Name if needed.
- Choose whether the fax should appear at the top or bottom of the patient’s Files list.
- Click Save.
The fax will be added to the patient chart in the Files section.

Add a New Patient from a Fax
If a fax belongs to a patient who does not yet exist in the system:
- Open the fax preview.
- Select Add Patient in the Assign to dialog.

- Enter the required fields (First Name, Last Name, and Location) and Click Save Patient.
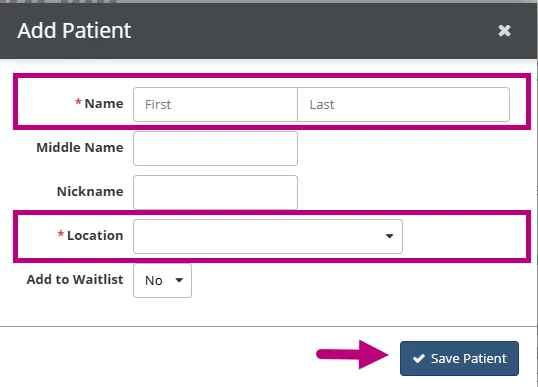
- Once the new patient is added, they will populate in the Assign to field.
NOTE: After saving a new patient from the fax management screen, the patient chart does not open automatically. Users must navigate to the patient chart separately to complete additional information.