PERMISSIONS REQUIRED: Users with Self-Scheduling or Scheduling permissions can add, edit and delete appointments. Users with Docs or Billing permissions are able to view appointments.
Use the Calendar to add, edit and delete appointments for patients and other meetings. Understanding Calendar Filters and Navigation will make it easier to schedule and manage appointments. See Add & Manage Activities - Admins for more information. Once you have appointments on your schedule, you can hover over them to View Appointment Details.
Jump to Section:
Add or Edit an Appointment
Add and edit appointments from the Calendar. If the Appointment Status has been set to Checked in, Patient Cancelled, Clinic Cancelled or No Show, you can not change the date/time, location, recurrence information, patient or location, but you are able to add new patients and new therapists. See Check In a Patient or Change Appointment Status for more information.
If you are editing a recurring appointment, you can use the Apply To field to apply your changes to either only that appointment, or to all appointments in the series. If there is a visit signature attached to an appointment, you can not change the date of service, even if all documentation has been deleted.
Teletherapy appointments can no longer be moved or edited once the session has ended, except for the Type, Preset and Duration fields. The status of a teletherapy appointment can also be changed after the session has ended.
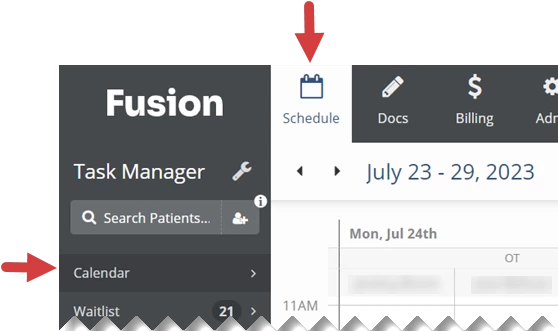
- Click the Schedule tab at the top of the screen.
- Click Calendar in the menu on the left.
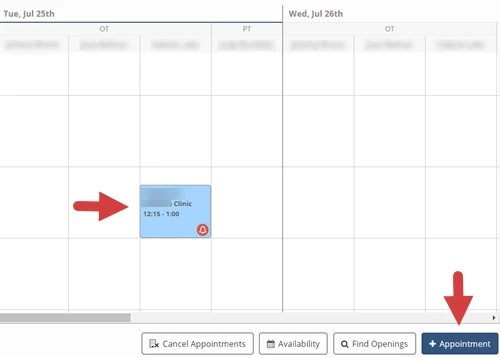
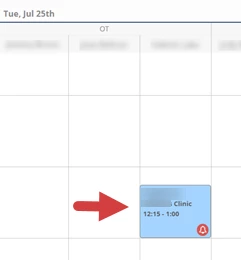
- In the lower right, click the + Appointment button, or click on an existing appointment to open that appointment. You can also click and drag on the calendar to schedule an appointment for that user and those time slots.
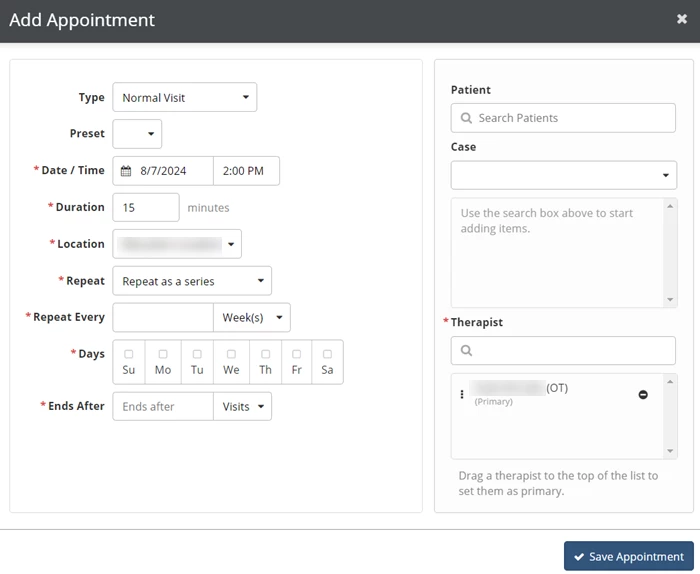
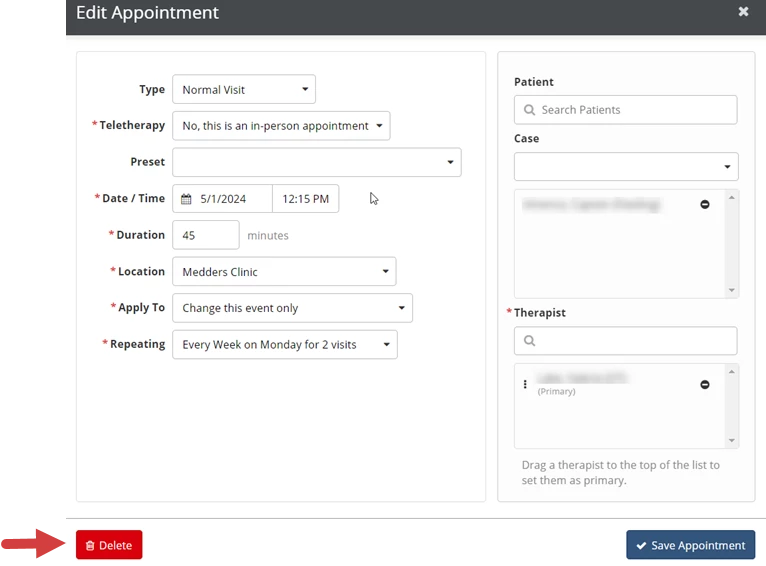
- Fill in the appointment's information.
- Click the Save Appointment button.
Type: Indicates whether this appointment is for a normal visit, initial evaluation, re-assessment, discharge, or progress note. A document of the selected type will automatically be created when the patient is checked in.
Teletherapy: Indicates whether or not this is an online appointment that will use Fusion’s teletherapy feature.
Preset: If a preset is selected, some information will be automatically added to the appointment.
Date/Time: The date and starting time of the appointment.
Duration: How long the appointment is scheduled for, in minutes.
Location: The location this appointment is scheduled for.
Repeat: Indicates whether this appointment is for a single visit or recurring visits. (Selecting Repeat as a Series opens additional fields.)
- Repeat Every: Indicates if an appointment is repeating at a weekly or monthly interval.
- Days: The days of the week this appointment should repeat on.
- By: Indicates if a monthly appointment repeats according to date or specific week and day of the month.
- On The/On Date: Indicates the day a monthly repeating appointment is scheduled for.
- Ends After: The number of visits or the date when this appointment will stop repeating.
NOTE: For more information, see Set Up Repeating Appointments.
Patients: Patients scheduled for this appointment.
Case: The Patient Case associated with the appointment for the patient. If a patient has more than one active case, select the case that will be associated with the appointment for that patient from the Case drop-down list.
Therapists: Therapists scheduled for this appointment. The Primary therapist owns the documentation for the appointment.
Delete an Appointment
You can delete an appointment if there are no associated documents and no patients have been checked-in. Teletherapy appointments can no longer be deleted once someone has joined the session.
- Click the appointment you want to delete.
- Click the Delete button.
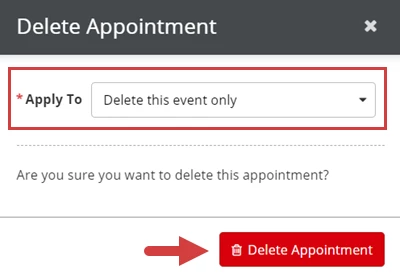
- In the Apply To field, select Delete this Event Only, or Delete All Remaining Events in the Series. This option will only display if the appointment is part of a series.
- Click the Delete Appointment button.