

You can create a Client Appointment from the Agenda, Client List or the Calendar. You have a lot of flexibility within Appointments to schedule multiple Staff, multiple Service Types, toggle between Locations, and/or schedule all or multi-day Appointments.
Jump To Section:
NOTE: See Client Appointment Variations for more information on appointment variations you can schedule to meet your needs.
Create Appointment
- Click the Schedule tab in the navigation bar.
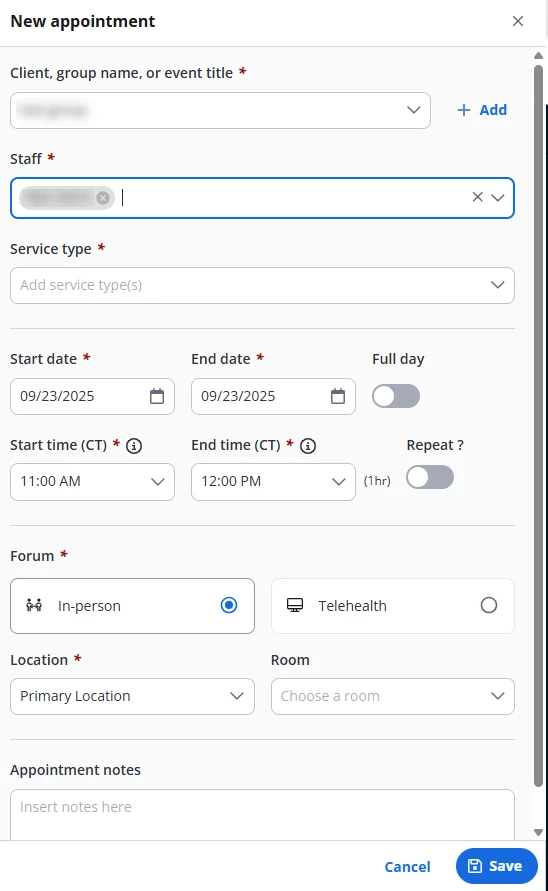
- Click +New appointment and Enter the required information in the appointment window.
NOTE: You can filter your schedule view by: Location, Staff, Clients, Service types and Non-client events.
Click the gear icon to change your calendar preferences.
NOTE: Staff members have the ability to set a default time zone that is different from organization & location time zones. For the associated staff, their agenda, calendar & appointment windows will then display in the time zone set by the staff member. Appointment times will display in the location time zone on the client list and signed documentation.
See Set Your General Preferences for more information.
- Your preferred time zone will display next to the start/end times when you are creating the appointment. Your preferred time zone and the appointment location time zone will show in your agenda.
- Your preferred time zone will display next to the start/end times when you are creating the appointment. Your preferred time zone and the appointment location time zone will show in your agenda.
- Enter the client name in the Client, group name or event title field, then select that client name from the Clients results.
- Select the Staff Member if different from yourself.
- Select a Service Type from drop down if it did not auto-populate.
- Select Start Date, End Date, Start Time, End Time & Repeat setting (if applicable). See Client Appointment Variations for more information on scheduling repeat appointments.
- Click the dropdown arrow in the Time fields to select a time, or click inside the field to enter a time. The appointment duration will automatically display next to the End Time field.
- Select Forum: Individual or Telehealth (if applicable).
- Select Location & Room (if applicable).
- Enter Notes if needed.
- Click Save.
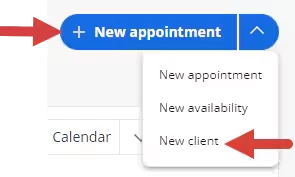
NOTE: You can add a new client from the +New Appointment dropdown or in the New Appointment window.
From the +New Appointment dropdown
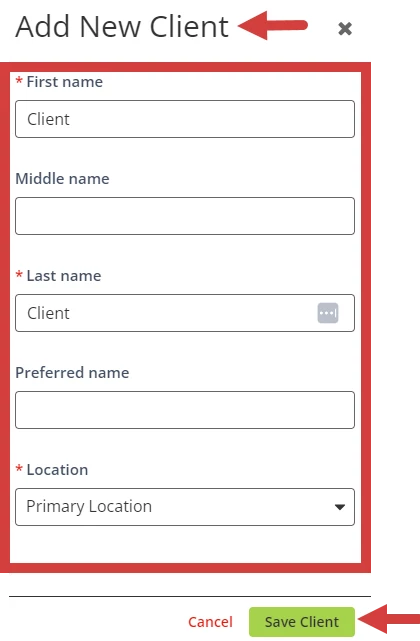
Click New client.
Enter client details & click Save Client.
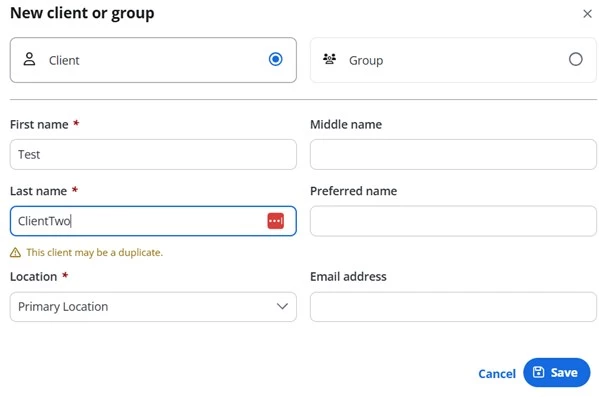
From the New Appointment Window
Click the + Add button.
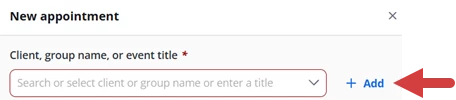
Select Client, enter Name, Location and Email, then click Save.
View Appointment
You can view the appointment from the Agenda, Calendar or Staff Page
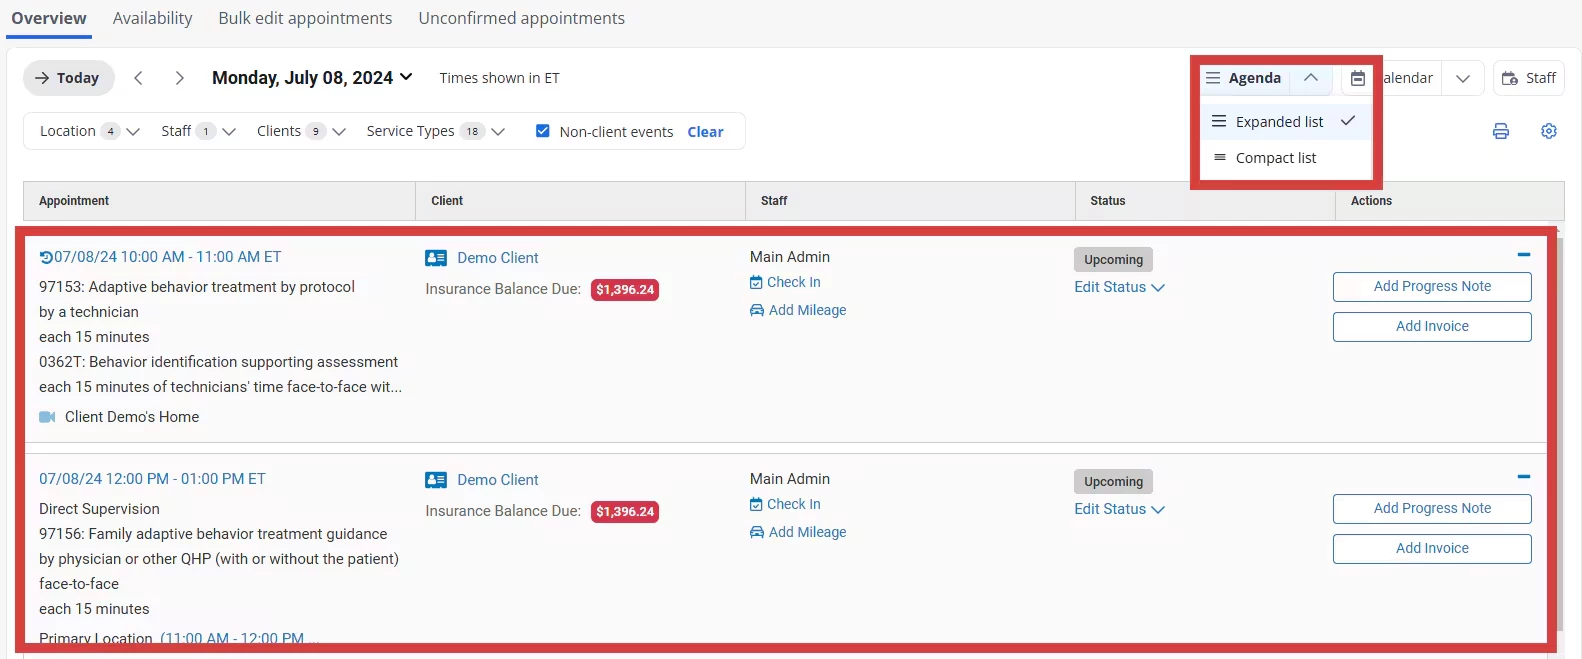
From the Agenda
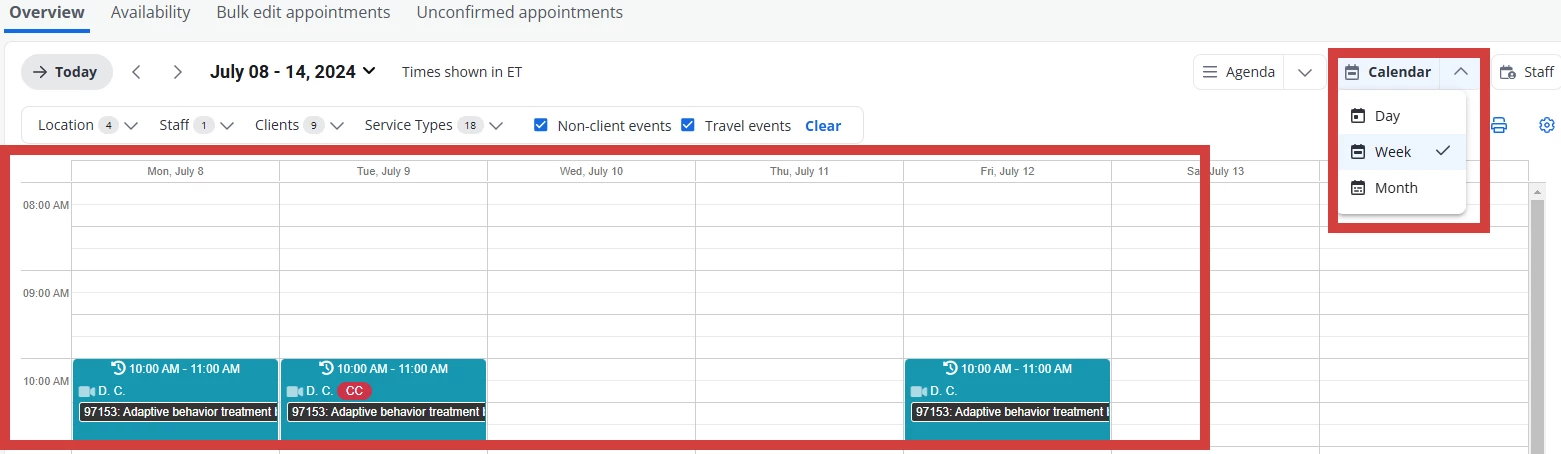
From the Calendar
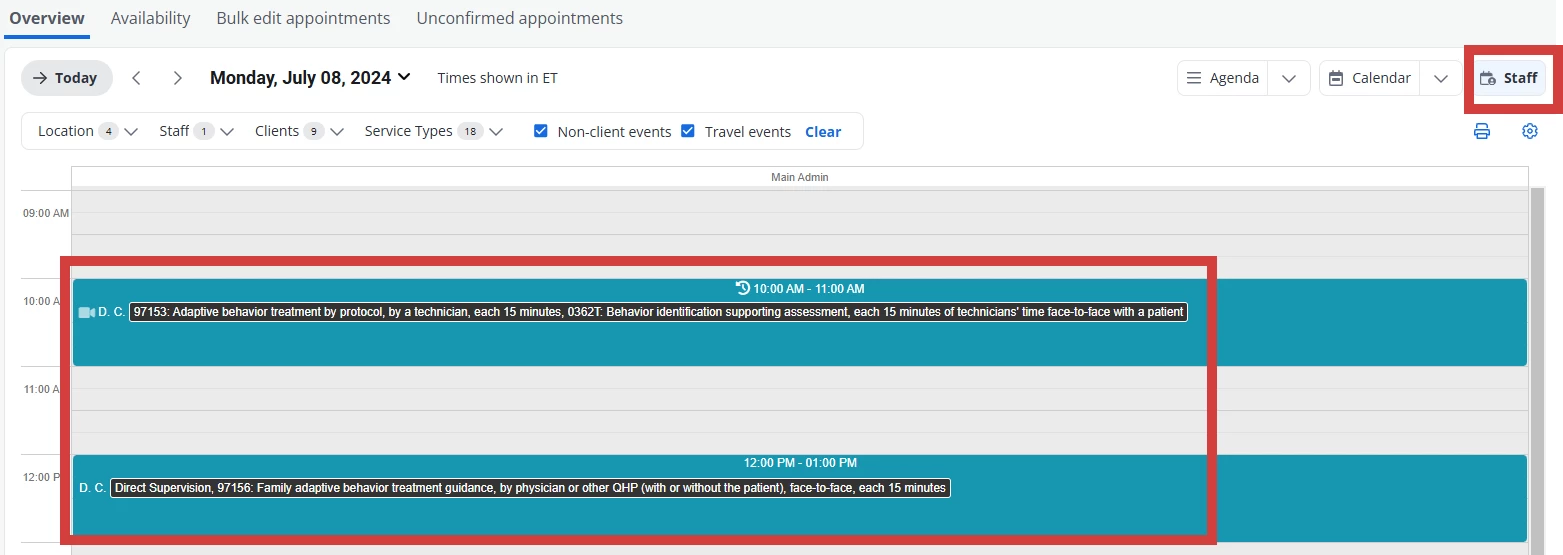
From the Staff Page
Create Appointment - Client Page
- Click Clients tab in the navigation bar.
- Select the client.
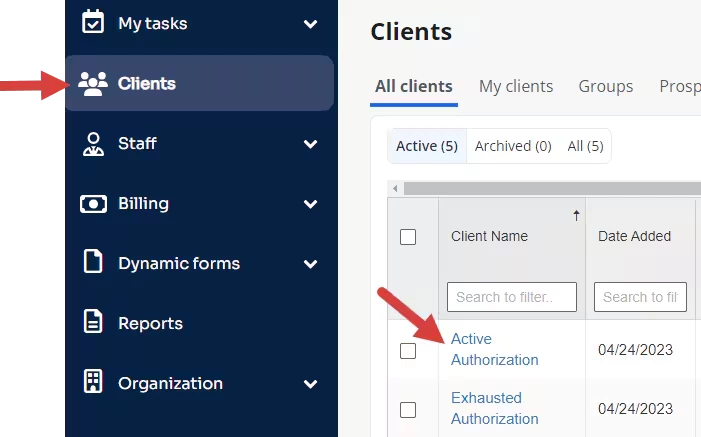
- Click Appointments for the client in the navigation bar.
- Click +New appointment or New Telehealth Session (if applicable). The New Appointment window opens. Enter appointment details as explained above.
See Schedule Telehealth Appointment for more information on telehealth appointments.

Related Articles:
- Schedule Non-Client Event (i.e. Organization Event, Vacation, etc.)
- Schedule Recurring Appointment
- Schedule Telehealth Appointment