Jump to Section:
Download & Setup AVD for Macs
- Download the Microsoft Remote Desktop App from the Mac Store.
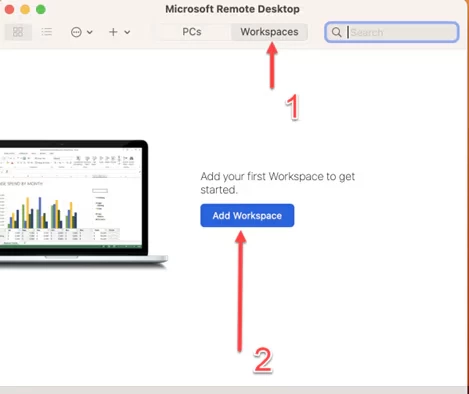
- After that installs, open the app and click on the Workspaces button across the top of the window, and click Add Workspace in the center of the screen.
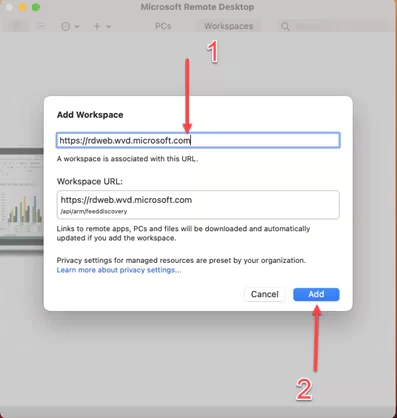
- Once the workspace window pops up within the app, add the following URL to the workspace URL field: (https://rdweb.wvd.microsoft.com/) and click Add once you see “A workspace is associated with this URL”:
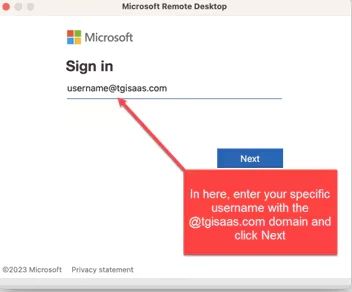
- This will prompt you to a Sign-in/login screen. On this screen, enter your specified username with the @tgisaas.com domain and click Next. This will bring you to a screen to enter your eCR remote desktop login password.
Authenticate Account with MFA
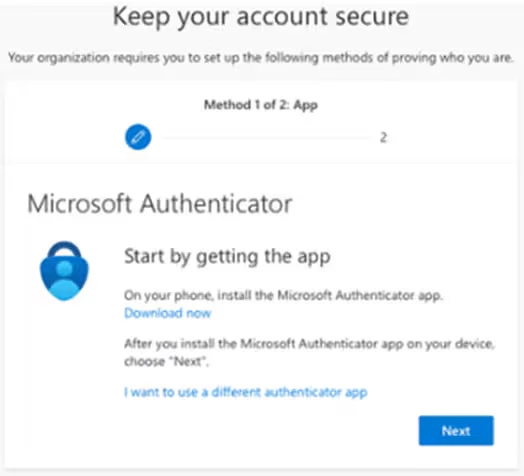
NOTE: You must have the Microsoft Authenticator App installed on your device to complete the next part of the process.
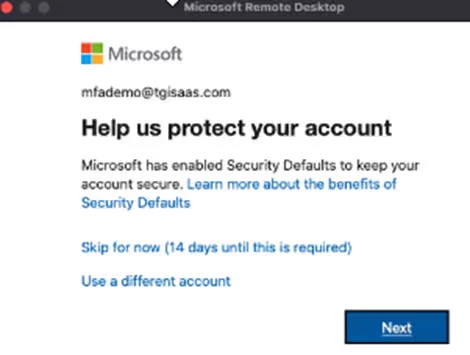
- Click Next on the Help us protect your account window.
- Click Next on the Keep your account secure window.
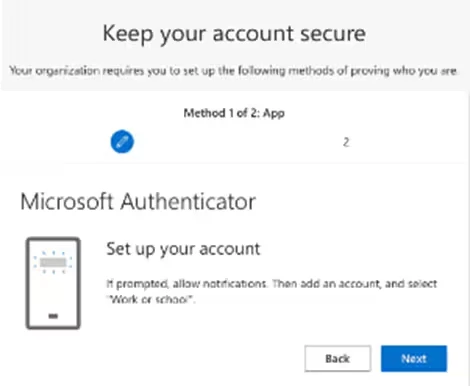
- Click Next again to indicate that you have the Microsoft Authenticator App installed on your device.
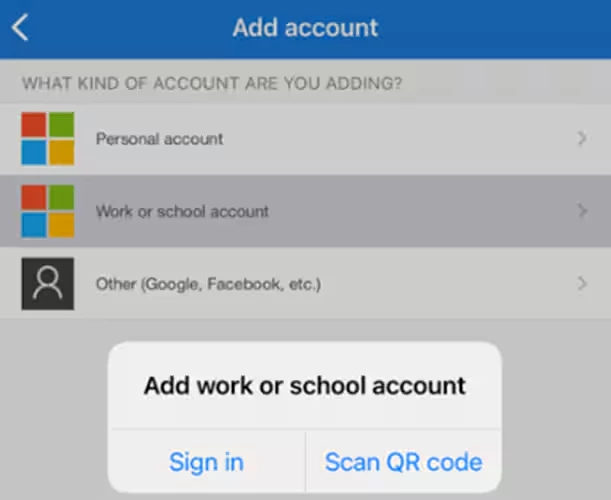
- Open the Microsoft Authenticator App on your phone and click (Plus)+ to add an account.
- Select Work or School Account.
- Select Scan QR Code.
- Scan the QR Code that is displayed on your computer using your device.
- Click Next.

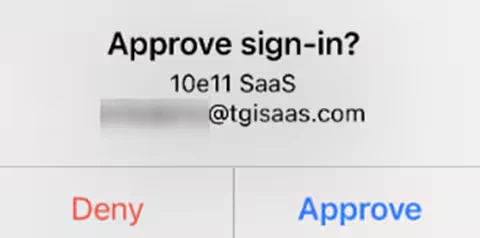
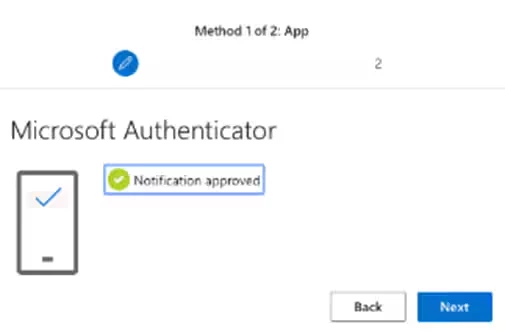
- You will receive a prompt on your device asking you to approve the sign-in. Click Approve.
- Click Next.
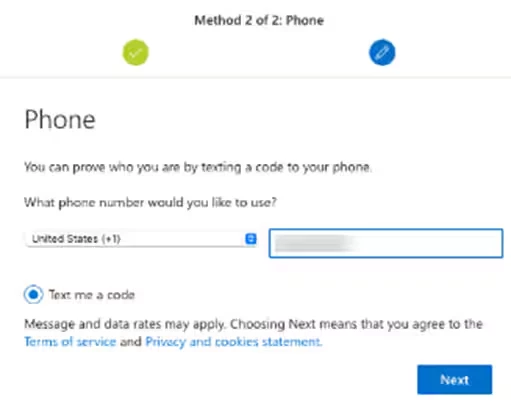
- Enter your Cell Phone Number in the Phone field.
- Click Next to have a code sent to your smartphone via text message.
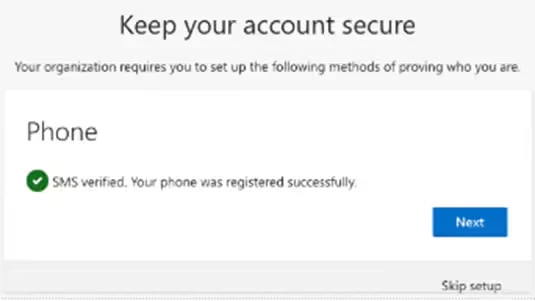
- Enter the Code you received via text message.
- Click Next.
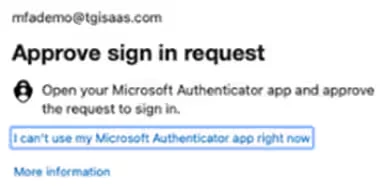
- You will be prompted to log in again and another request for approval will be sent to the Authenticator app on your phone. Click Approve.
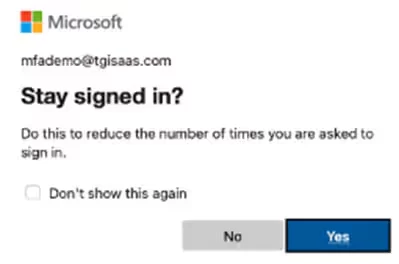
- Click Yes on the Stay signed in? window.
- The eCR application will display inside the Azure Virtual Desktop application.