

Customize the SOAP Note by adding additional custom fields. There are three types of custom fields available:
- ADD FIELD - Insert fields that collect information from the user completing a SOAP Note on the app. There are several answer types, including Free Text, Likert Scale, Email, Numeric, Date Picker, Time Picker, Duration, Signature, Slider, Multiple Choice, Multiple Select, and Session.
- ADD NOTE - Inserts text that is left-aligned and un-bolded. Used to insert information, reminders or instructions.
- ADD SECTION - Insert text that is larger, and bolded. Uses to insert headers or more obvious reminders.
Jump to Section:
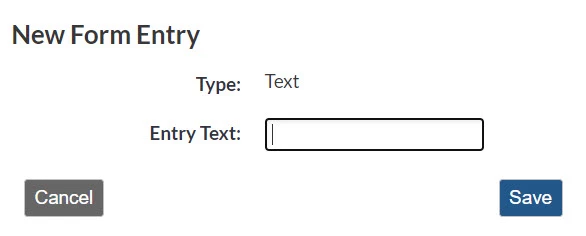
Free Text
Free Text example in the app:
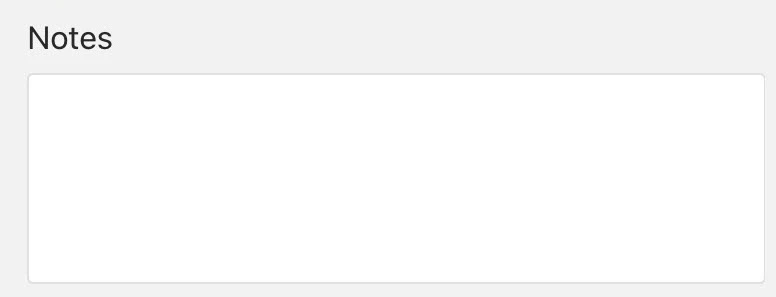
Free Text inserts an open text field where users can type using their device keyboard.
*Denotes Required Field
-
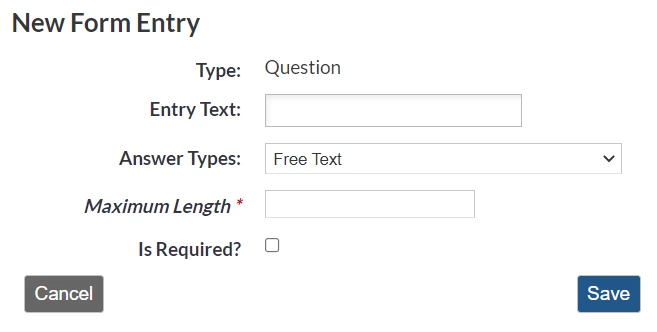
Click Add Field.
-
*Entry Text - Format the question or statement as it will display in the app.
NOTE: Entry Text is a required field. This will display directly above the free text field. Check spelling and formatting as this is not editable once saved. To make changes, it must be deleted and recreated
-
Answer Type - Select Free Text.
-
Maximum Length - Impose a character limit on the free text box. e.g., 1500 Maximum.
-
Is Required - Select if this field should be required in order to complete the form in the app.
-
Click Save.
Likert Scale
Likert Scale example in the app:
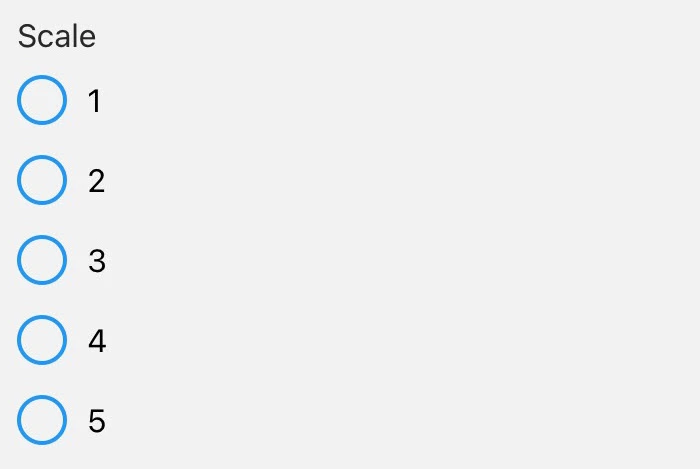
A Likert Scale is used to measure the user's preferences or degree of agreement with a statement.
*Denotes Required Field
-
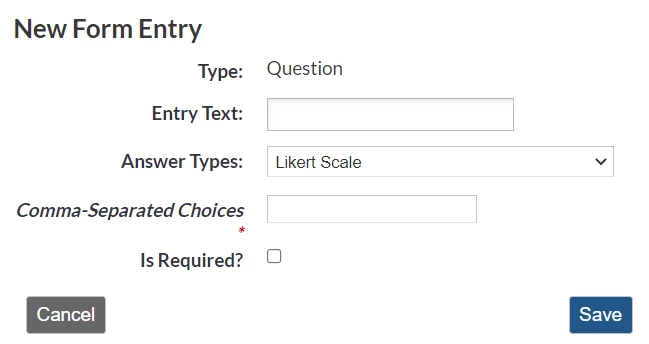
Click Add Field.
- *Entry Text - Format the question or statement as it will display in the app.
NOTE: Entry Text is a required field. This will display directly above the Likert Scale. Check spelling and formatting as this is not editable once saved. To make changes, it must be deleted and recreated.
- Answer Type - Select Likert Scale.
- Comma-Separated Choices - Dictates available options on the Likert Scale. Enter three to seven options separated by commas, in desired order from left to right (e.g., Strongly Disagree, Disagree, Neutral, Agree, Strongly Agree.)
NOTE: Check spelling and formatting (i.e. capitalization or punctuation) as this is not editable once saved. To make changes, it must be deleted and recreated.
- Is Required - Select if this field should be required in order to complete the form in the app.
- Click Save.
Email Address example in the app:
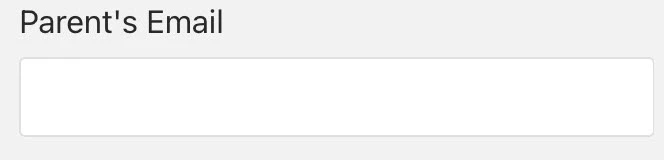
Insert a field that is specific to an email address.
*Denotes Required Field
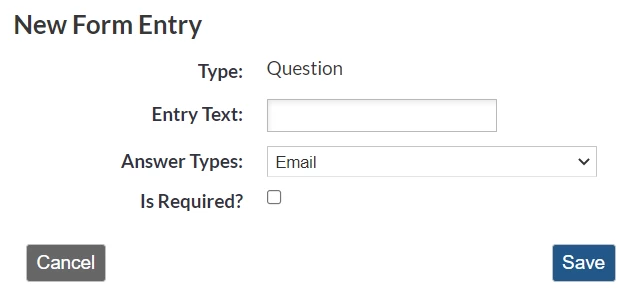
- Click Add Field.
- *Entry Text - Format the question or statement as it will display in the app.
NOTE: Entry Text is a required field. This will display directly above the Email field. Check spelling and formatting as this is not editable once saved. To make changes, it must be deleted and recreated.
- Answer Type - Select Email.
- Is Required - Select if this field should be required in order to complete the form in the app.
- Click Save.
Numeric
Insert a field that is specific for numbers. This field will only accept numbers, not letters.
Numeric example in the app:

*Denotes Required Field
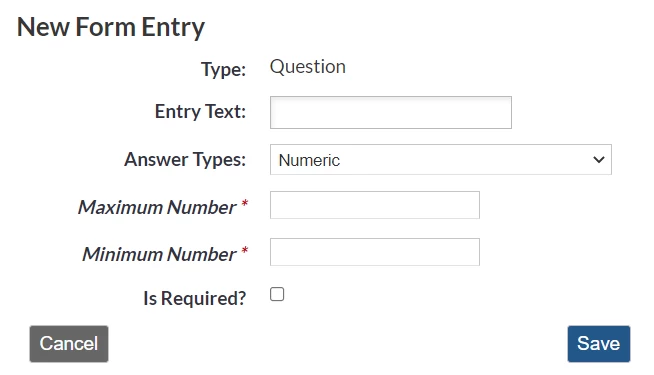
- Click Add Field.
- *Entry Text - Format the question or statement as it will display in the app.
NOTE: Entry Text is a required field. This will display directly above the Numeric field. Check spelling and formatting as this is not editable once saved. To make changes, it must be deleted and recreated.
- Answer Type - Select Numeric.
- Minimum Number and Maximum Number - Restricts the range of numbers to be accepted by the form.
- Is Required - Select if this field should be required in order to complete a form in the app.
- Click Save.
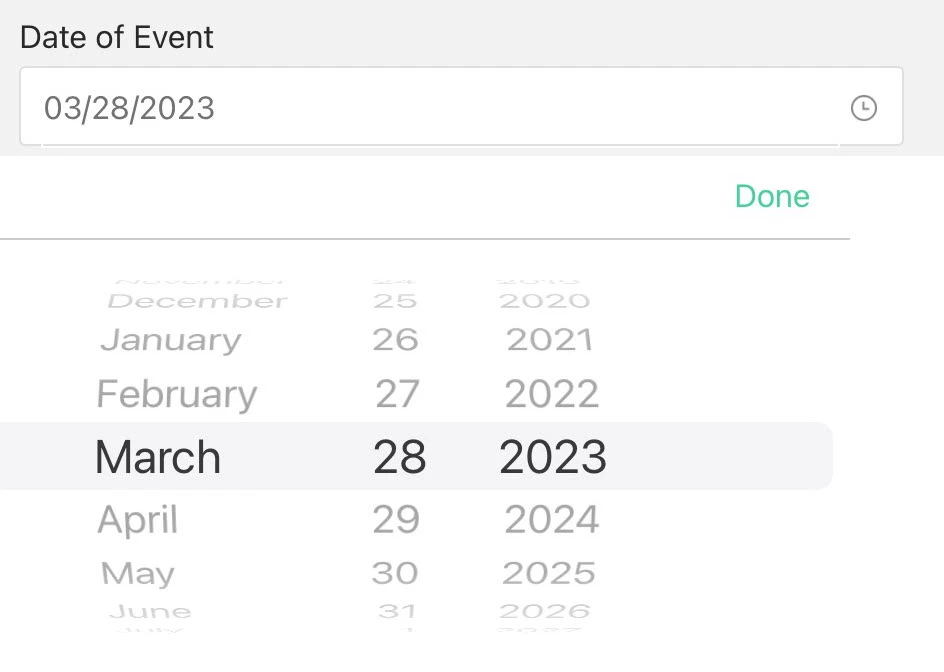
Date Picker
Insert a spinning picker that includes the month, date, and year.
Date Picker example in the app:
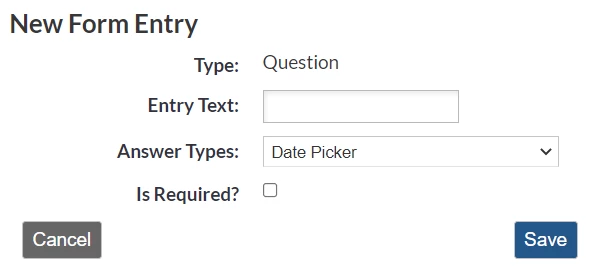
*Denotes Required Field
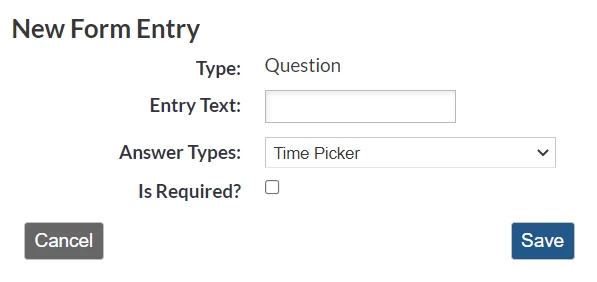
Time Picker
Insert a spinning picker that includes hour, minute, and am/pm.
Time Picker example in the app:
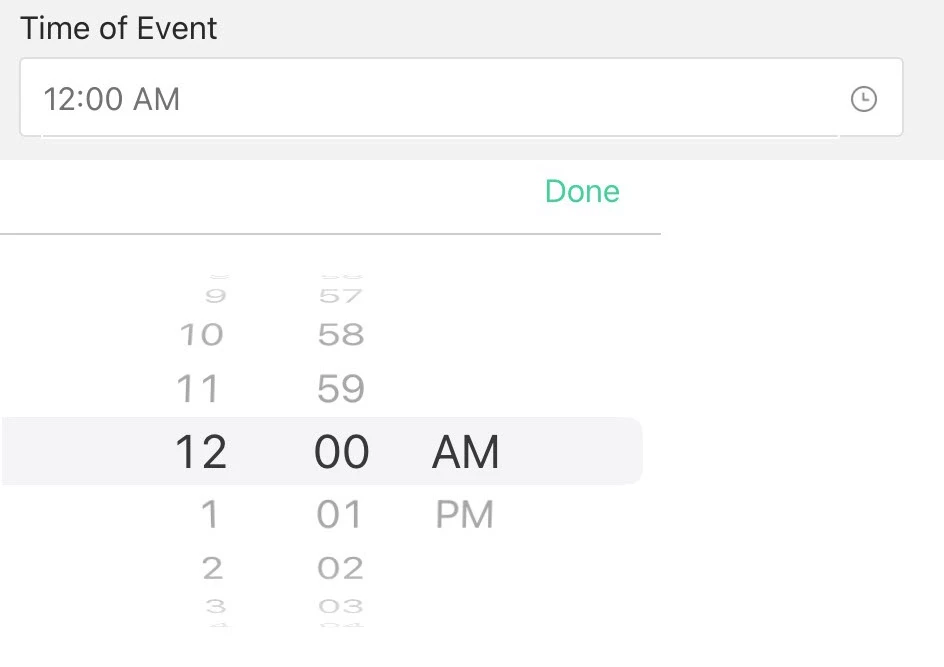
*Denotes Required Field
- Click Add Field.
- *Entry Text - Format the question or statement as it will display in the app.
NOTE: Entry Text is a required field. This will display directly above the Time Picker. Check spelling and formatting as this is not editable once saved. To make changes, it must be deleted and recreated.
- Answer Type - Select Time Picker.
- Is Required - Select if this field should be required in order to complete a form in the app.
- Click Save.
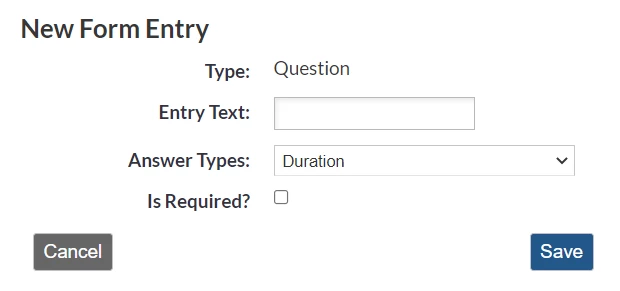
Duration
Insert a field to enter minutes and seconds.
Duration example in the app:
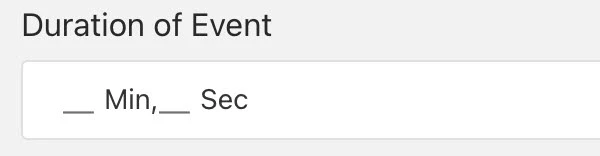
*Denotes Required Field
- Click Add Field.
- *Entry Text - Format the question or statement as it will display in the app.
NOTE: Entry Text is a required field. This will display directly above the Duration field. Check spelling and formatting as this is not editable once saved. To make changes, it must be deleted and recreated.
- Answer Type - Select Duration.
- Is Required - Select if this field should be required in order to complete a form in the app.
- Click Save.
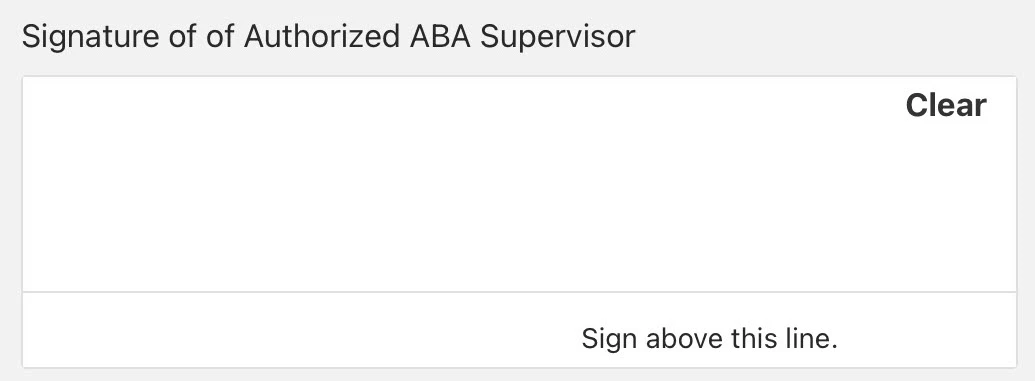
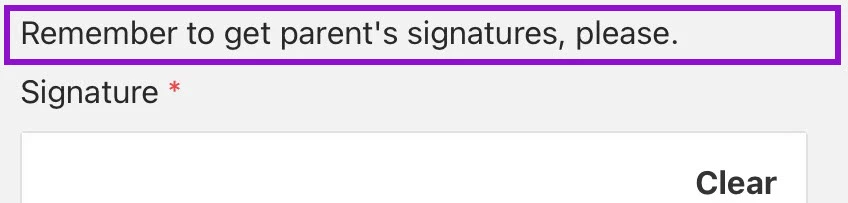
Signature
Insert a field for a signature. The user will use a stylus or finger to insert a signature in-app.
Signature example in the app:
*Denotes Required Field
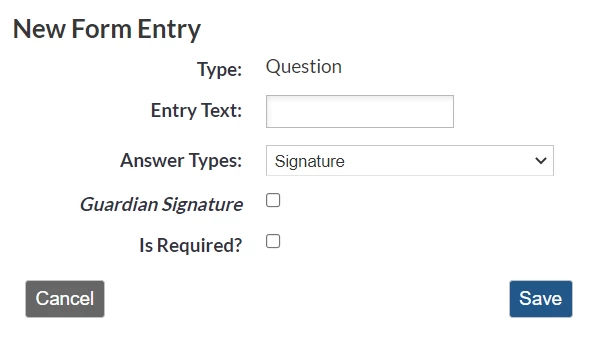
- Click Add Field.
- *Entry Text - Format the question or statement as it will display in the app.
NOTE: Entry Text is a required field. This will display directly above the Signature field. Check spelling and formatting as this is not editable once saved. To make changes, it must be deleted and recreated.
- Answer Type - Select Signature.
- Is Required - Select if this field should be required in order to complete a form in the app.
- Check the box for Guardian Signature if this Signature is intended for parents/guardians to sign.
- Click Save.
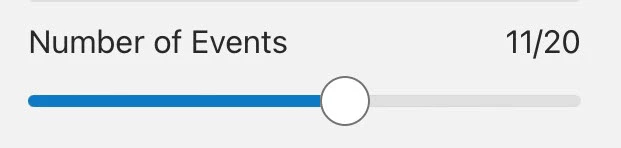
Slider
Insert a circle that can be dragged along a sliding scale.
Slider example in the app:
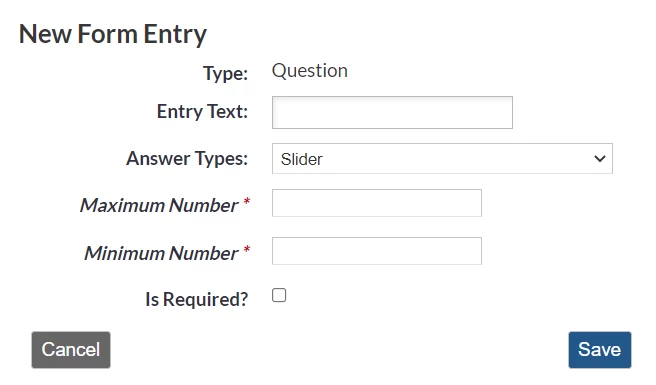
*Denotes Required Field
- Click Add Field.
- *Entry Text - Format the question or statement as it will display in the app.
NOTE: Entry Text is a required field. This will display directly above the Slider. Check spelling and formatting as this is not editable once saved. To make changes, it must be deleted and recreated.
- Answer Type - Select Slider.
- Minimum Number - Number selected when the slider is dragged completely to the left.
- Maximum Number - Number selected when the slider is dragged completely to the right.
- Is Required - Select if this field should be required in order to complete a form in the app.
- Click Save.
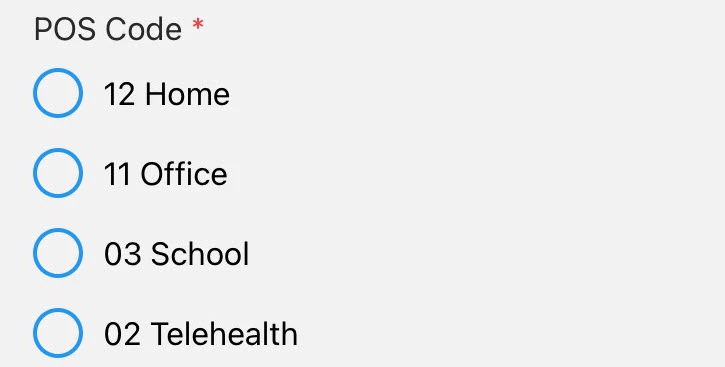
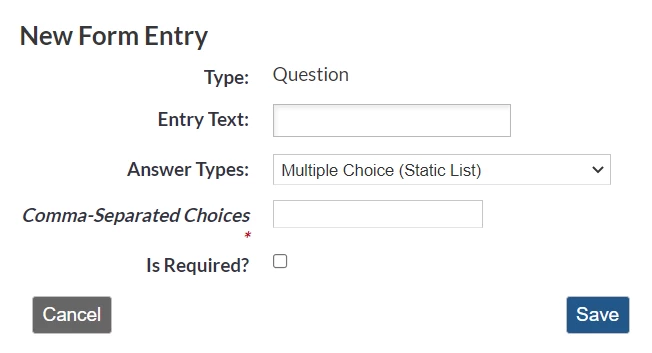
Multiple Choice
Insert a field that includes options of your choosing (numbers, words, phrases, etc.)
Multiple Choice example in the app:
*Denotes Required Field
- Click Add Fields.
- *Entry Text - Format the question or statement as it will display in the app.
NOTE: Entry Text is a required field. This will display directly above the Multiple Choice. Check spelling and formatting as this is not editable once saved. To make changes, it must be deleted and recreated.
- Answer Type - Select Multiple Choice (Static List).
- Comma-Separated Choices - Dictates available options on the picker. Enter options separated by commas, e.g., One, Two, Three, Four, Five, Six
NOTE: Check spelling and formatting (i.e. capitalization or punctuation) as this is not editable once saved. To make changes, it must be deleted and recreated.
- Is Required - Select if this field should be required in order to complete the form in the app.
- Click Save.
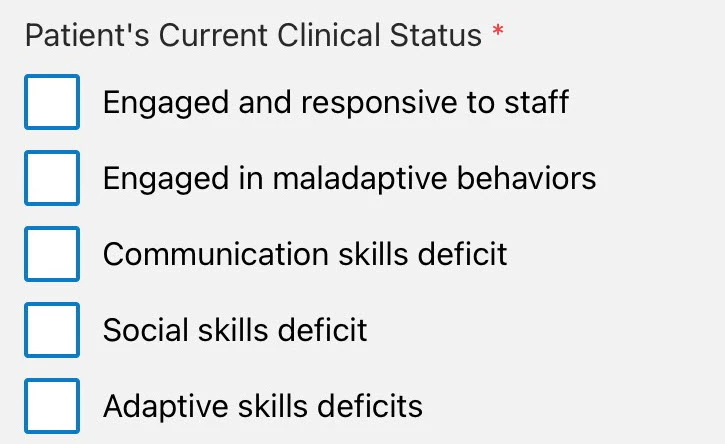
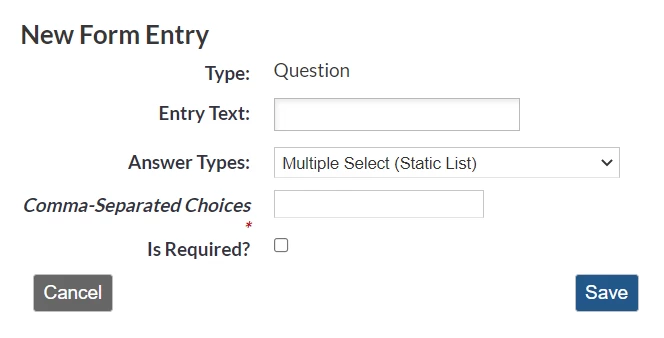
Multiple Select
Insert a multiple-choice field where more than one option can be selected.
Multiple Select example in the app:
*Denotes Required Field
- Click Add Field.
- *Entry Text - Format the question or statement as it will display in the app.
NOTE: Entry Text is a required field. This will display directly above the Multiple Select. Check spelling and formatting as this is not editable once saved. To make changes, it must be deleted and recreated.
- Answer Type - Select Multiple Select (Static List).
- Comma-Separated Choices - Dictates available options on the picker. Enter options separated by commas, e.g., One, Two, Three, Four, Five, Six
NOTE: Check spelling and formatting (i.e. capitalization or punctuation) as this is not editable once saved. To make changes, it must be deleted and recreated.
- Is Required - Select if this field should be required in order to complete the form in the app.
- Click Save.
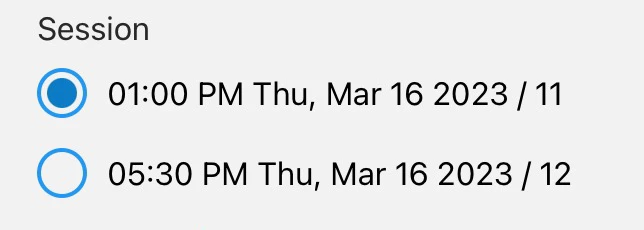
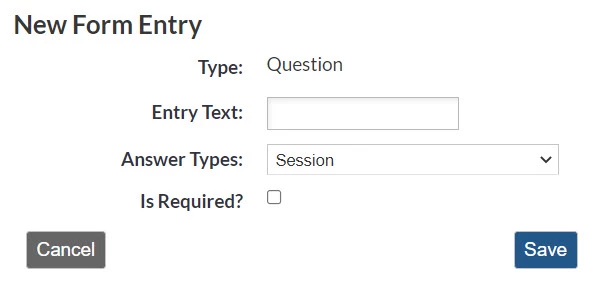
Session Field
Insert a Session field where, for clients integrated with WebABA, an appointment can be selected.
Session example in the app:
*Denotes Required Field
- Click Add Field.
- *Entry Text - Format the question or statement as it will display in the app.
NOTE: Entry Text is a required field. This will display directly above the Multiple Select. Check spelling and formatting as this is not editable once saved. To make changes, it must be deleted and recreated.
- Answer Type - Select Session.
- Is Required - Select if this field should be required in order to complete the form in the app.
- Click Save.
Add Note (Text)
Insert desired text into a form. Text is left-aligned and un-bolded. Use to insert information or instructions.
NOTE: Added Notes will appear in downloaded SOAP Notes.
Note (Text) example in the app:
*Denotes Required Field
- Click Add Note.
- *Entry Text - Format the statement as it will display in the app.
NOTE: Entry Text is a required field. Check spelling and formatting as this is not editable once saved. To make changes, it must be deleted and recreated.
- Click Save.
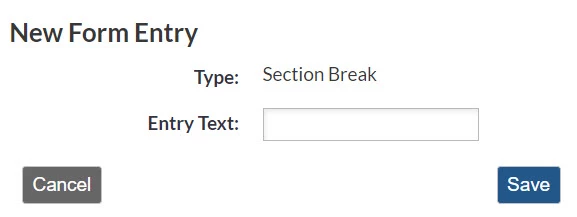
Add Section (Section Break)
Insert text that is larger, and bolded. Uses to insert headers or more obvious reminders.
NOTE: Section Breaks are visible when creating & using a SOAP note, however they will not appear in the downloaded pdf version. To ensure text visibility in the download, please use the 'Add Note (Text)' feature.
Section Break example in the app:

*Denotes Required Field
- Click Add Section.
- *Entry Text - Format the statement as it will display in the app.
NOTE: Entry Text is a required field. Check spelling and formatting as this is not editable once saved. To make changes, it must be deleted and recreated.
- Click Save.