Jump to Section:
Overview
Custom Assessment Sections allow PT, OT, and SLP teams to create and use clinic-specific assessment content making documentation faster, more relevant, and more reflective of each practice’s unique approach to care.
Key Features of Custom Assessment Sections:
- Admin control of Assessment Sections: Admins can manage and customize assessment sections to meet the specific needs of their clinic.
- Ability to import preconfigured Assessment Sections: Admins can import preconfigured assessment sections into their own lists.
- Ease in copying an Assessment Section for edits: Duplicate existing assessment sections for quick modifications, making documentation more efficient.
- Use of custom or preconfigured categories: Leverage custom or preconfigured categories to better organize assessment content.
- Clearer section headings: Improved headings facilitate easier navigation and template building for evaluations.
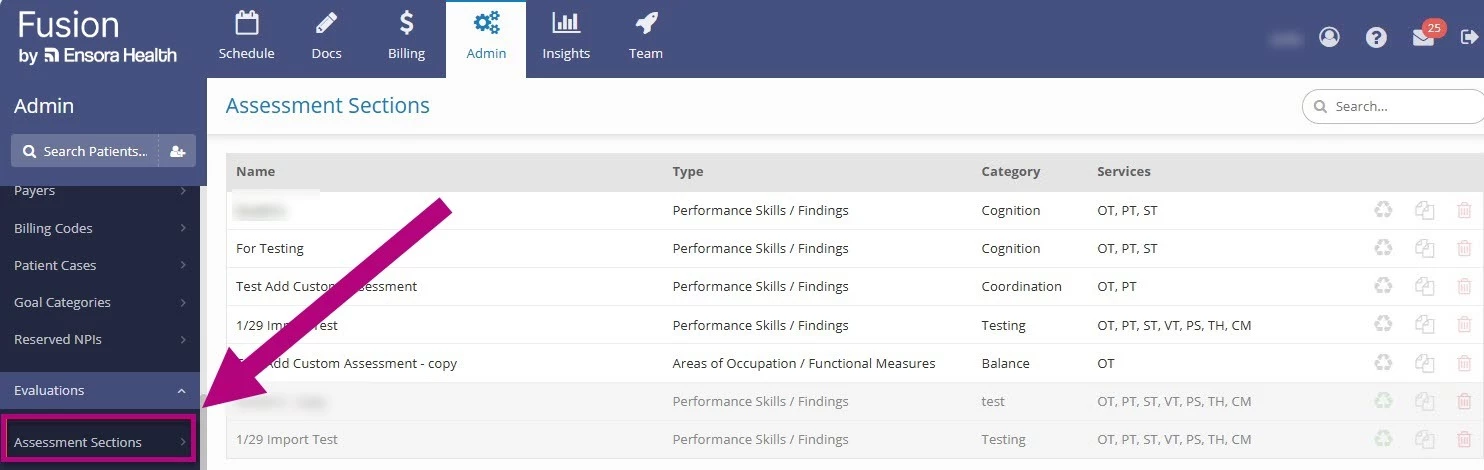
Access Custom Assessment Sections
Admin users can access custom Assessment sections. To view and manage Assessment Sections:
- Navigate to Admin > Evaluations > Assessment Sections.
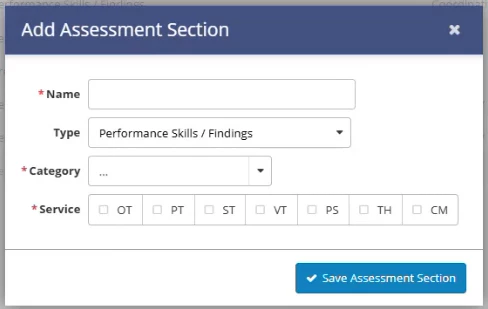
Create a Custom Assessment Section
- Navigate to Admin > Evaluations > Assessment Sections.
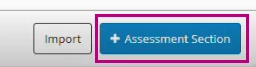
- Click +Assessment Section in the lower right corner.
- Enter a Name for the assessment section.
- Choose a Category for the section.
- Users may select from preconfigured categories available to the clinic.
- Users may also create a custom category specific to their clinic.
- Use the checkboxes to select Service(s).
- Click Save Assessment Section.
- Click +Form in the lower right corner of the Assessment Section.
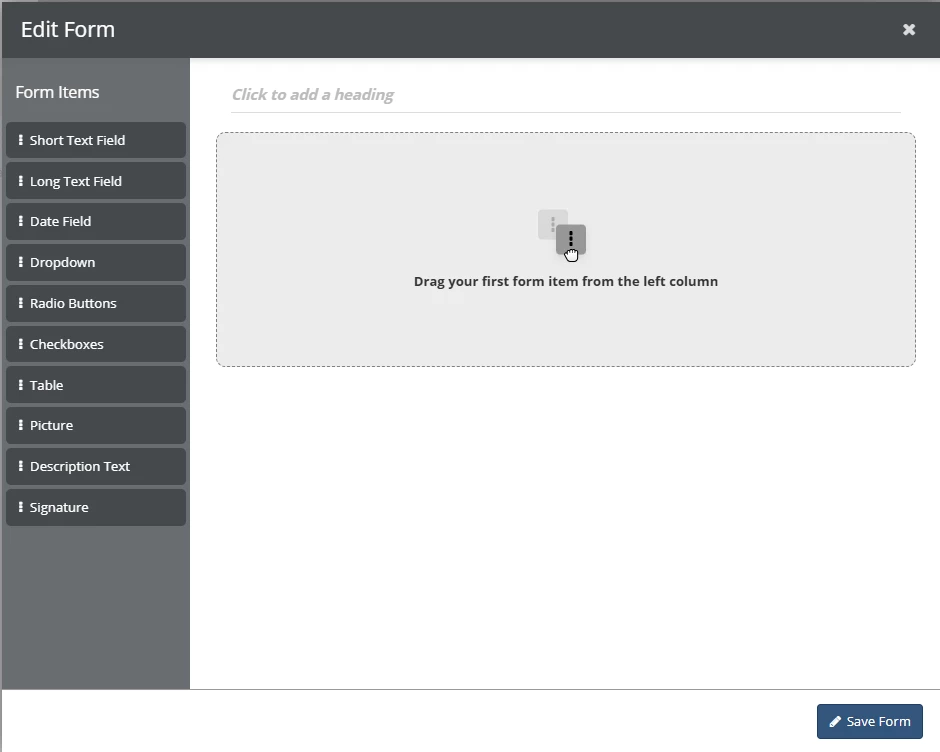
- Click and drag form items from the Form Item list on the left into the black space on the right.
- Fill in the Form Item Settings for each Form Item and save each one.
NOTE: Once you have multiple items on the form, you can reposition them by clicking and dragging the move handle that appears in the left-hand corner when you hover over the form item.
- Click Save Form.
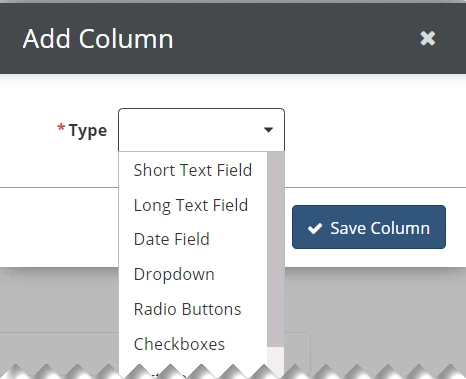
Form Item Types
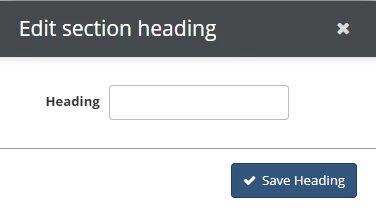
Heading
Add Headings to your form to visually group form items, sections or fields. If a Heading is added to the Form, it will be shown as the form header as well. If it is left blank, the header will be blank.
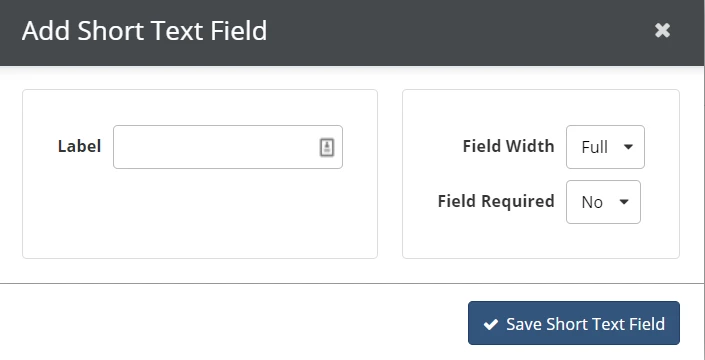
Short Text Field
The Short Text Field allows the user to type a short response or small amount of text. You can use the Short Text Field to ask for short descriptions or basic information.
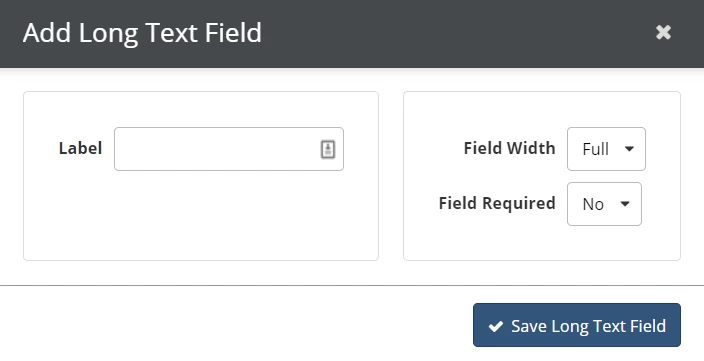
Long Text Field
The Long Text Field allows the user to type a longer response or larger amount of text, and automatically expands down as they type so more text can be seen at once. You can use the Long Text Field to ask for larger descriptions or observations.
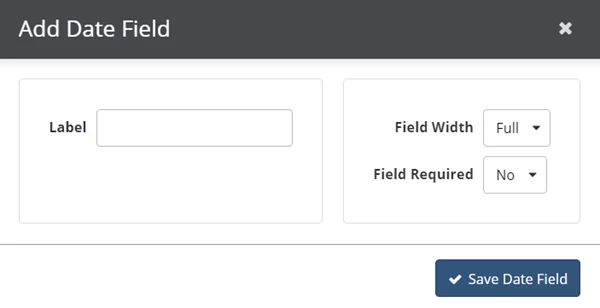
Date Field
The Date Field allows the user to type a date in or select a date from a calendar.
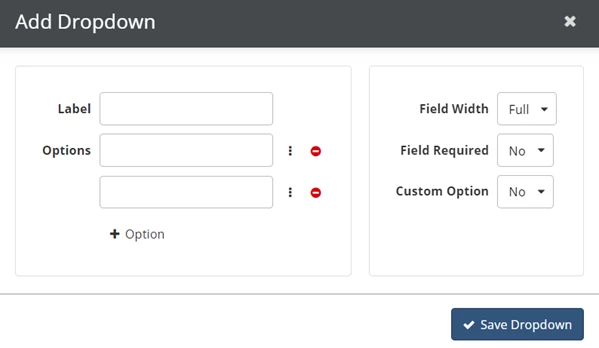
Dropdown
Dropdowns allow the user to select one option from a dropdown list. Users can select only one and not multiple choices from a Dropdown. You can use Dropdowns for controlled selections, preset options and yes/no questions.
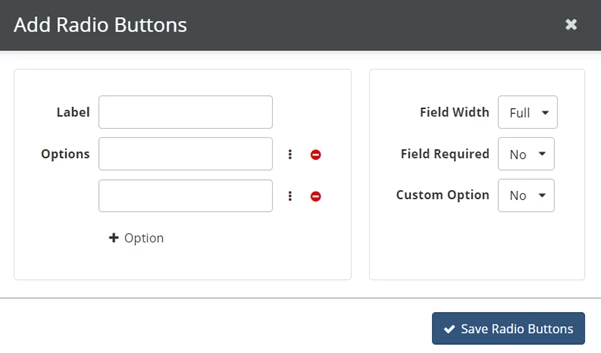
Radio Buttons
Radio Buttons allow the user to select one option from a list by clicking a radio button. Users can select only one and not multiple choices from a list of Radio Buttons. You can use Radio Buttons for controlled selections, preset options and yes/no questions.
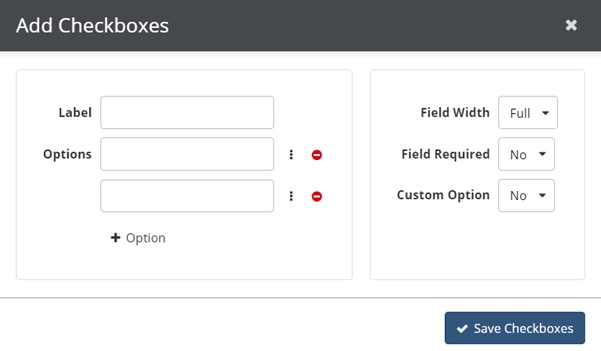
Checkboxes
Checkboxes allow the user to select multiple options from a list. You can use Checkboxes to allow users to make selections from lists of things such as symptoms or levels of impairment. You can also include a custom option to allow users to type in their own response.
Table
Tables allow you to group multiple fields of related information by displaying the fields as side-by-side columns within the same table. Tables give you the option to include text, radio buttons, checkboxes, dates and pictures. You can use Tables for items that have multiple responses or grouped information.
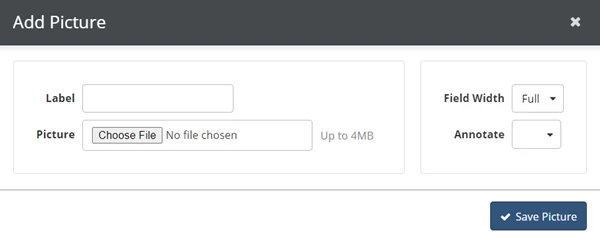
Picture
Pictures allow you to upload a picture that will appear on the form. You have the option to turn on annotations, which allow the user to point out areas on the picture and add notes about them. You can use this for body pictures and give the user the ability to note specific information at a given point on the picture.
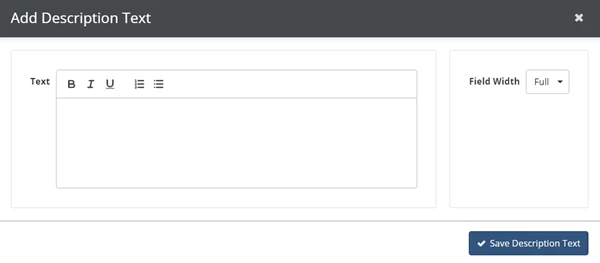
Description Text
Description Text allows you to type a longer area of text for the user to read. You can use this for things like instructions, further explanations and policy information.
NOTE: You must manually type the Description Text. If you copy and paste text into this field, your Description Text will not display properly on the form.
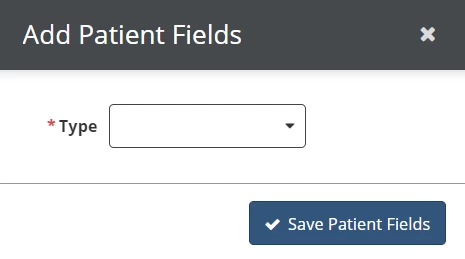
Patient Fields
Patient Fields are associated with the patient in the system, so the information the user fills out in Patient Fields can be imported back to the patient’s record.
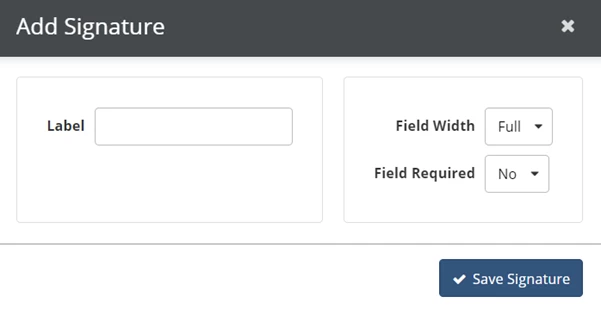
Signature
Signature allows the user to click to type a signature.
Import an Assessment Section
Clinics may import available preconfigured assessment sections into their own list.
NOTE: Imported sections are inactive by default and must be activated before use.
To import a section:
- Go to Admin > Evaluations > Assessment Sections.
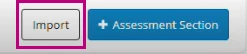
- Click Import in the lower right corner.
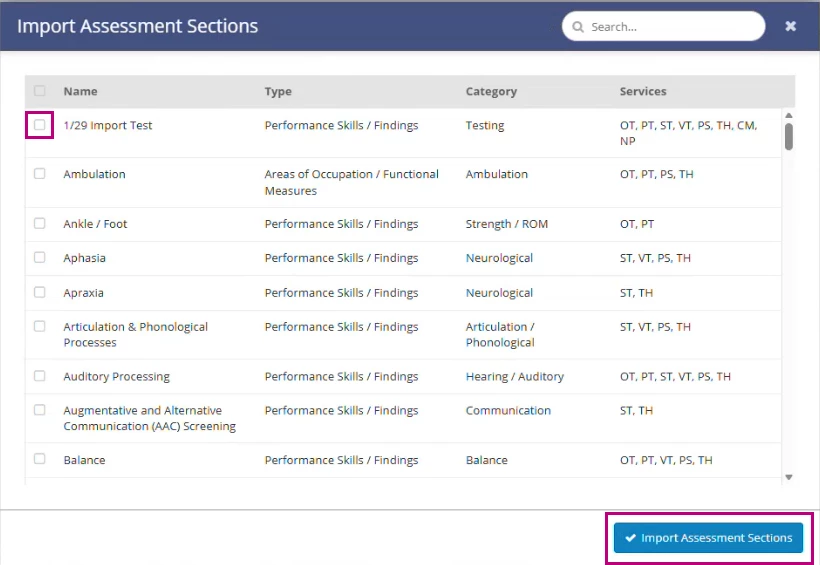
- Choose an eligible section from the list.
- Click Import Assessment Sections.
Copy, Activate, Deactivate, & Delete Assessment Sections

Activate
NOTE: Only active sections can be added to new evaluation templates.
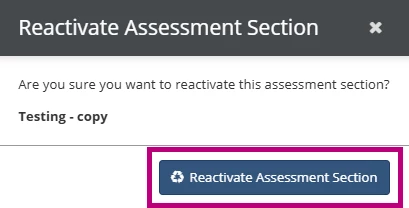
To activate an inactive or previously deactivated section:
- Click the green Reactivate icon on the section.

- Click Activate Assessment Section to confirm.
Deactivate
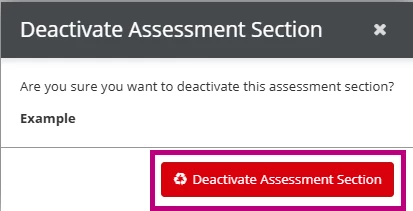
Sections can be deactivated when no longer needed, and remain available for reference or reactivation.
- Click the black Deactivate Icon on the section.

- Click Deactivate Assessment Section.
Copy
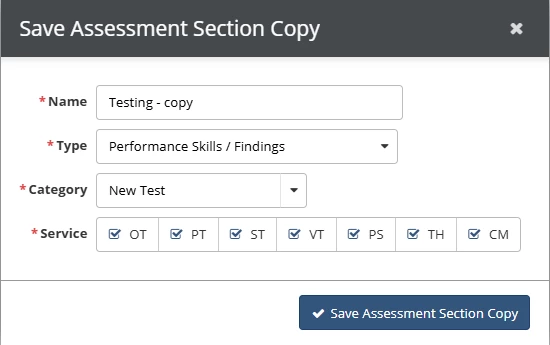
Copying allows clinics to create a new version of an existing assessment section.
NOTE: Copied sections are inactive by default and must be activated before use.
- Select the Copy Icon on the section.

- Modify the copied version as needed.
- Click Save Assessment Section Copy.
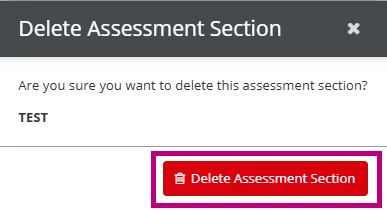
Delete
To delete a section:
- Click the Delete icon.

- Click Delete Assessment Section to confirm.