
Direct Messaging is available for agencies that use EMR Direct. Direct Messages follow an authentication and encryption protocol that is specifically designed to ensure sensitive data is sent and received by authorized parties only, facilitating point-to-point communication, and sharing of patient data between providers. Some configuration setup is required before getting started.
- The EMR Direct Third Party Integration tab must be completed.
- Permissions must also be assigned to the User Group or Groups that need access to Direct Messages.
- This can be done in Configuration - Staff/Users > Permissions.
- Select the Features tab and check the box for Direct Messaging for each User Group that needs access.
- After the steps above are complete, the authorized user has access after logging out of the application and back in again.
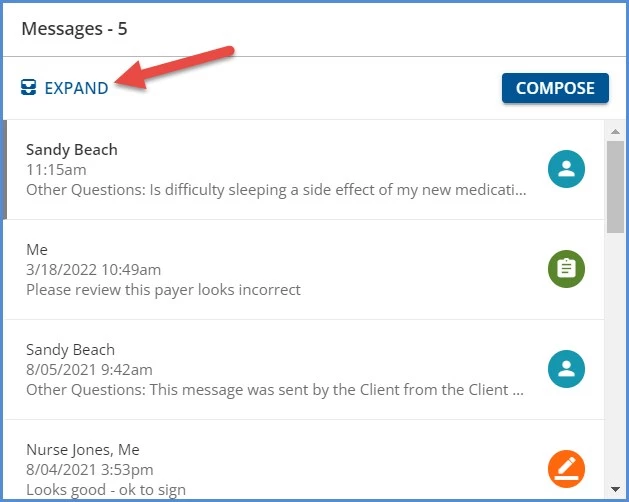
Access Direct Messages by selecting the Messages icon on the blue application information bar and then selecting the blue Expand button.
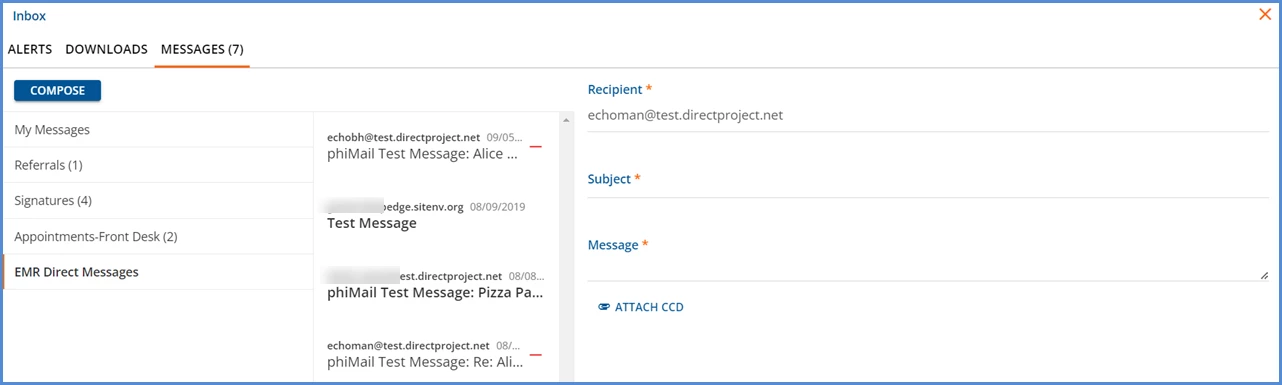
After Messages are expanded, EMR Direct Messages is the last mailbox in the MESSAGES section. Clicking on a message row displays a preview of the message to the right.
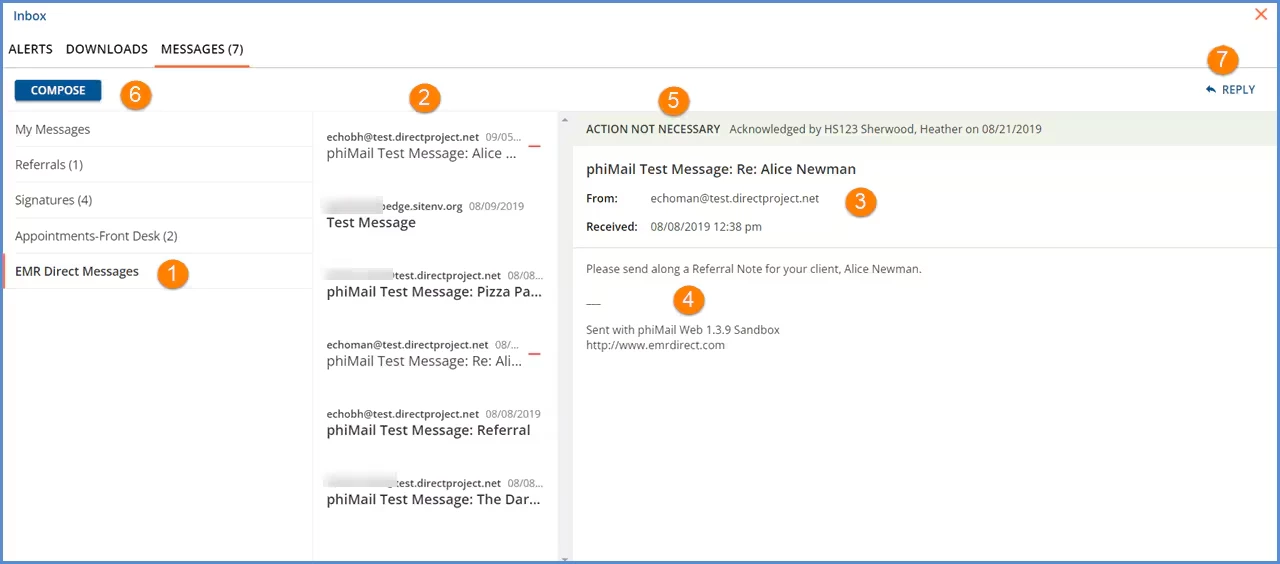
1. The vertical orange bar indicates the currently selected message.
2. The center column displays a summary message list.
3. Message Header - The message header contains the following components in the order they are displayed:
- The Subject which is displayed in a slightly larger font
- From: - contains the sender's information
- Received: - displays the date and time the message was received
- Attachments - If included, attachments are listed here.
4. The message content is displayed in the pane below the Message Header.
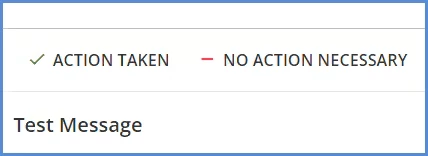
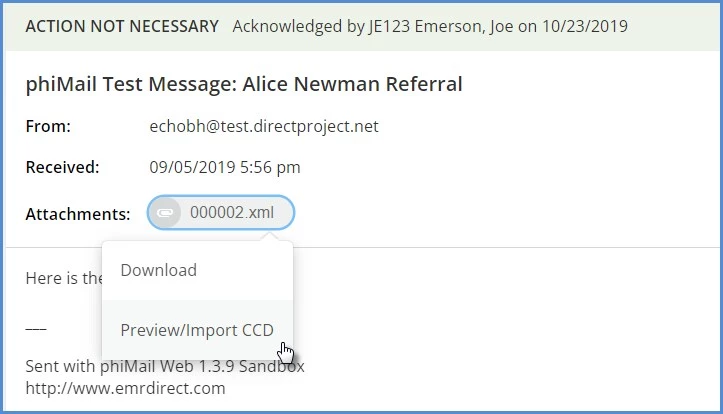
5. Action Buttons - Action Buttons when selected indicate the message status to other authorized users of this agency-wide Direct Message inbox.
- Specifying ACTION TAKEN or NO ACTION NECESSARY communicates with a single click that the message has reached the appropriate user AND has been addressed.
- A confirmation box appears when selecting an Action Button
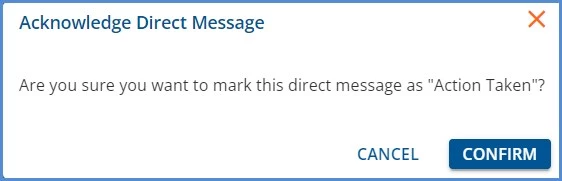
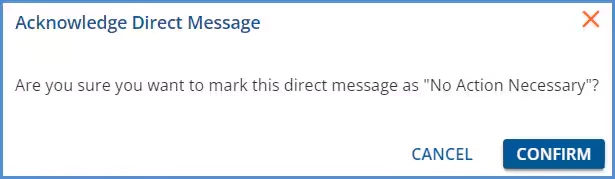
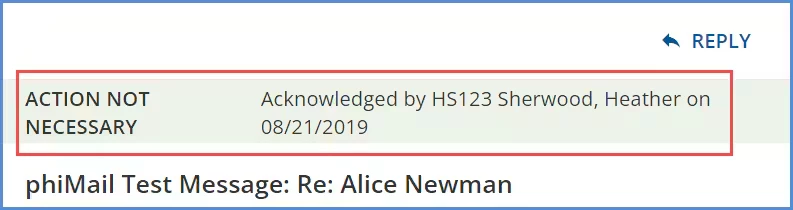
- Once an Action Button has been selected and confirmed:
- The Action Buttons are removed
- In place of the Action Buttons, the selection, acknowledging user and date confirmed are recorded.
6. COMPOSE - Select the blue Compose button, and then select the EMR Direct radio button on the displayed screen.
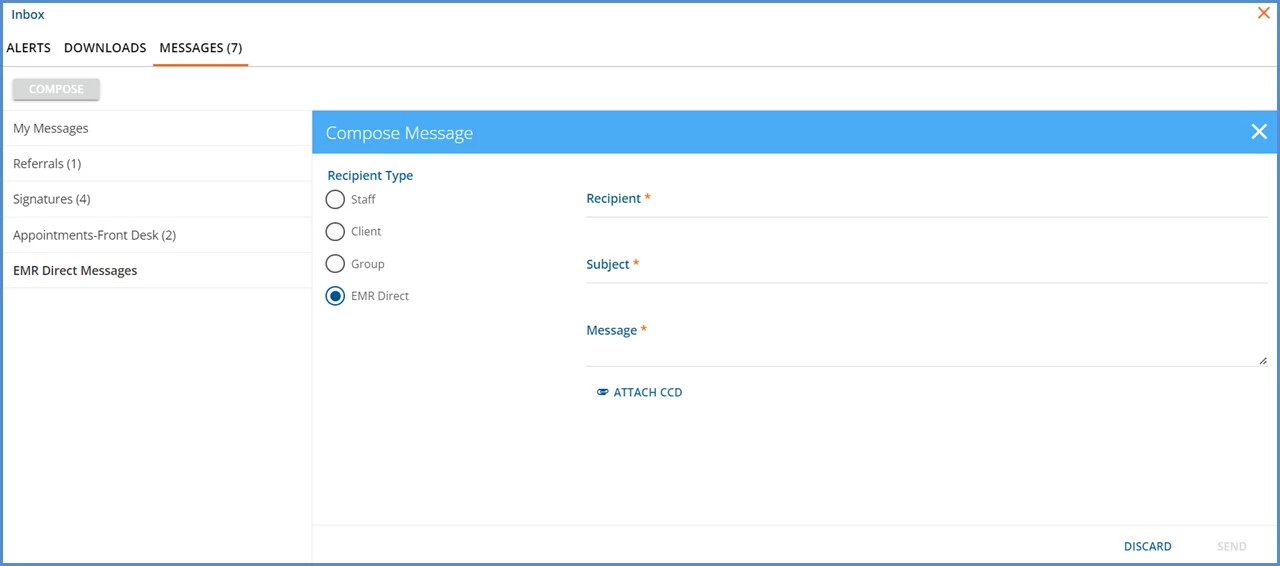
- A Direct Message requires the Subject, Recipient, and Message to be populated prior to being sent.
- Messages may only be sent to one recipient at a time.
- Messages may be sent to any valid direct messaging address.
- Entering an invalid address will result in an error notification.
- The message and the result of the message (success or error) are saved in the database for auditing purposes.
7. REPLY - A user can reply to a received Direct Message by selecting the REPLY button.
- Another Compose screen is opened.
- The Recipient is auto-populated with the address in the From of the currently selected message.
- An option to attach a CCD is available
CCD Attachments
Download a Received Attachment
Attachments received with a Direct Message display beneath Received. Single-click on the attachment and then highlight and select the Download or Preview option. A password must be provided in order to download the CCD attachment. This password is needed to unzip the file once the download is complete. See Download an Export Job for detailed instructions on downloading a CCD file.
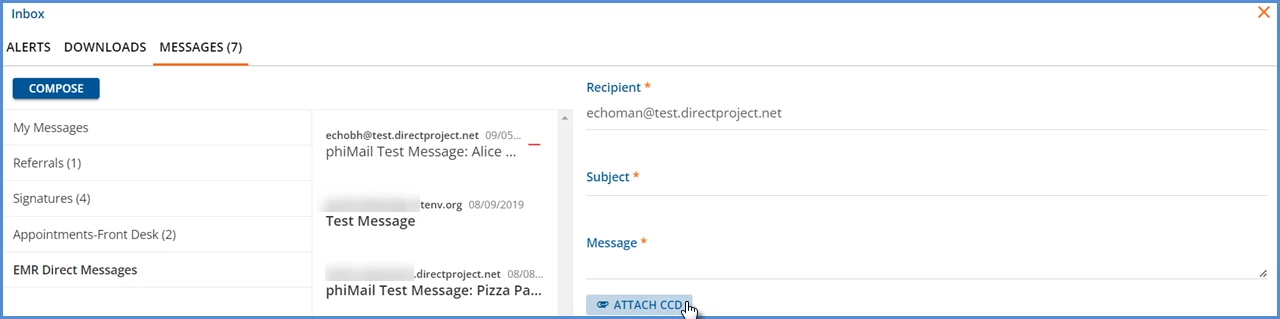
Attach a CCD
To attach a CCD to an outgoing direct message, select COMPOSE or REPLY. Complete the Recipient, Subject, and Message fields and then click on the blue Attach CCD.
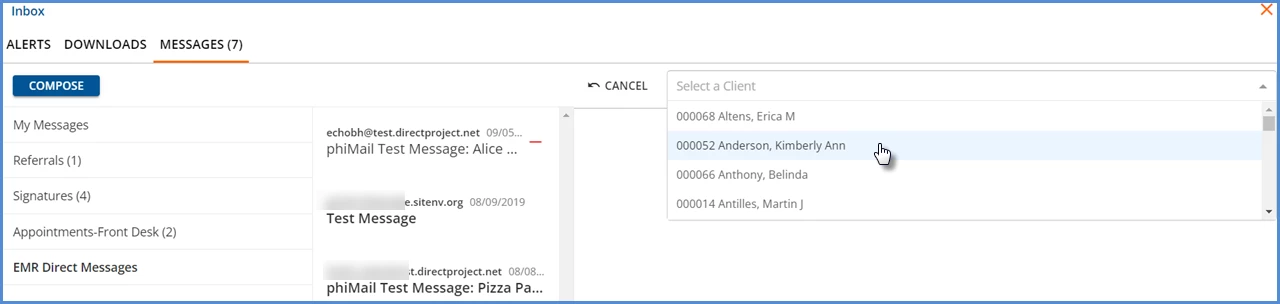
Use the drop-down list to find and select the Client to attach their CCD. The attached CCD function queries previously exported CCDs and returns a list to select from. Highlight and select the desired CCD to attach.
When the desired CCD is attached, the message is ready to SAVE. When saved successfully the following message displays.
