
SUBSCRIPTION REQUIRED: This feature is part of the add-on AI Session Assistant.
The Custom Note Workshop add-on allows you to customize and share clinical note types to better fit your documentation needs. You can personalize existing primary note types and share them with colleagues within your organization.
The Custom Note Workshop is available in both the web app and browser extension. It can be accessed via the contextual menu by clicking three dot icon within supported views, or through Settings, depending on the configured workflow and entry point.
Jump to Section:
Custom Note Workshop: Inactive Walkthrough
https://therapybrands.storylane.io/share/fusion-custom-note-workshop
Personalize an Existing Note Type
Personalizing a note type allows you to modify how a note is generated.
NOTE: Pre-loaded primary note types cannot be deleted, but they can be duplicated and customized.
- Open the AI Session Assistant.
- Click on the 3 Dots and select Custom Notes Workshop.
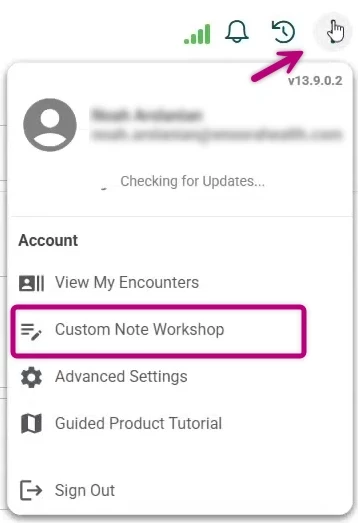
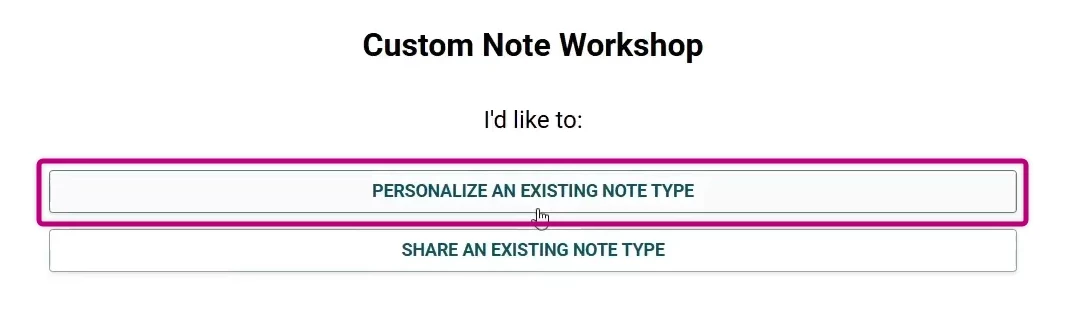
- Choose Personalize an Existing Note Type.
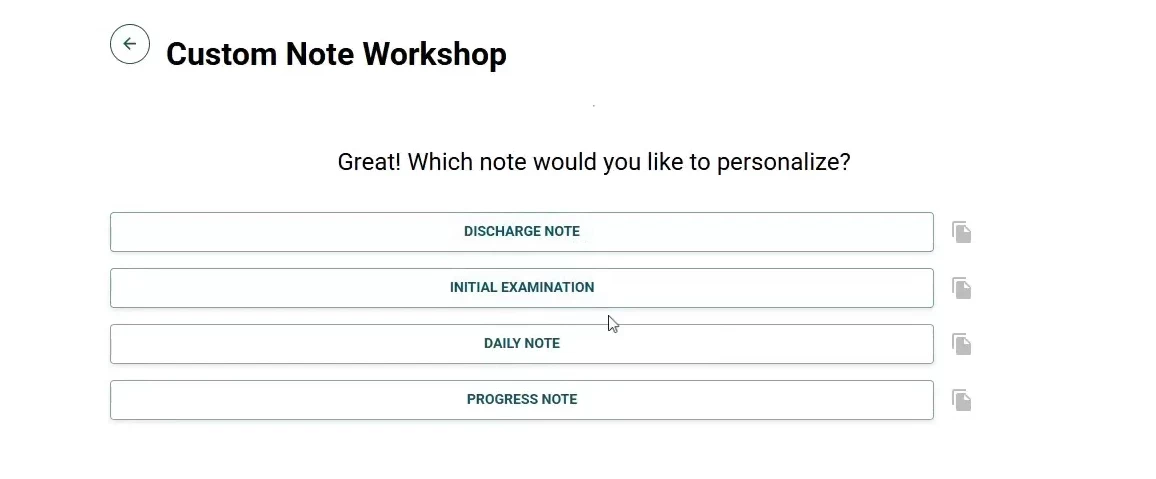
- Select the note you want to personalize.
- In this example, we will use the Daily Note note type.
- In this example, we will use the Daily Note note type.
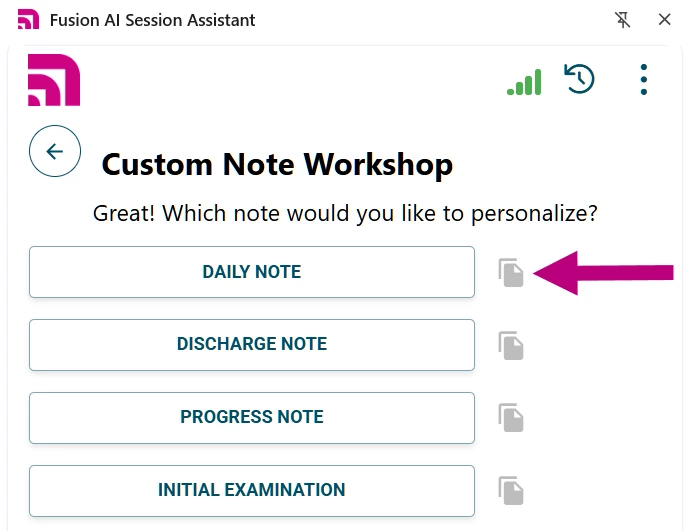
- Click the double page icon to the right of the Daily Note to make a copy of the Daily Note type.
- A modal will display where you can enter a name for the new note. You can edit the suggested name in the Cloned Note Type Name field, or keep the suggested.
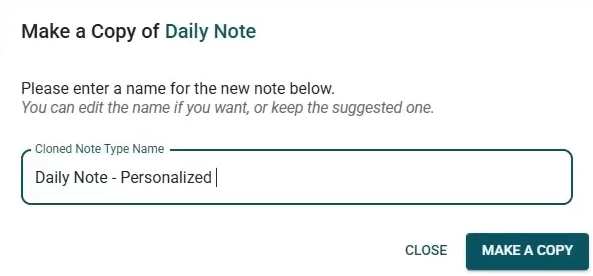
- Click the Make a Copy button.
- A popup message will display while the note type is being cloned. A second message will display once the process has been successful and your new Note Type is created.
- Click your new personalized note type.
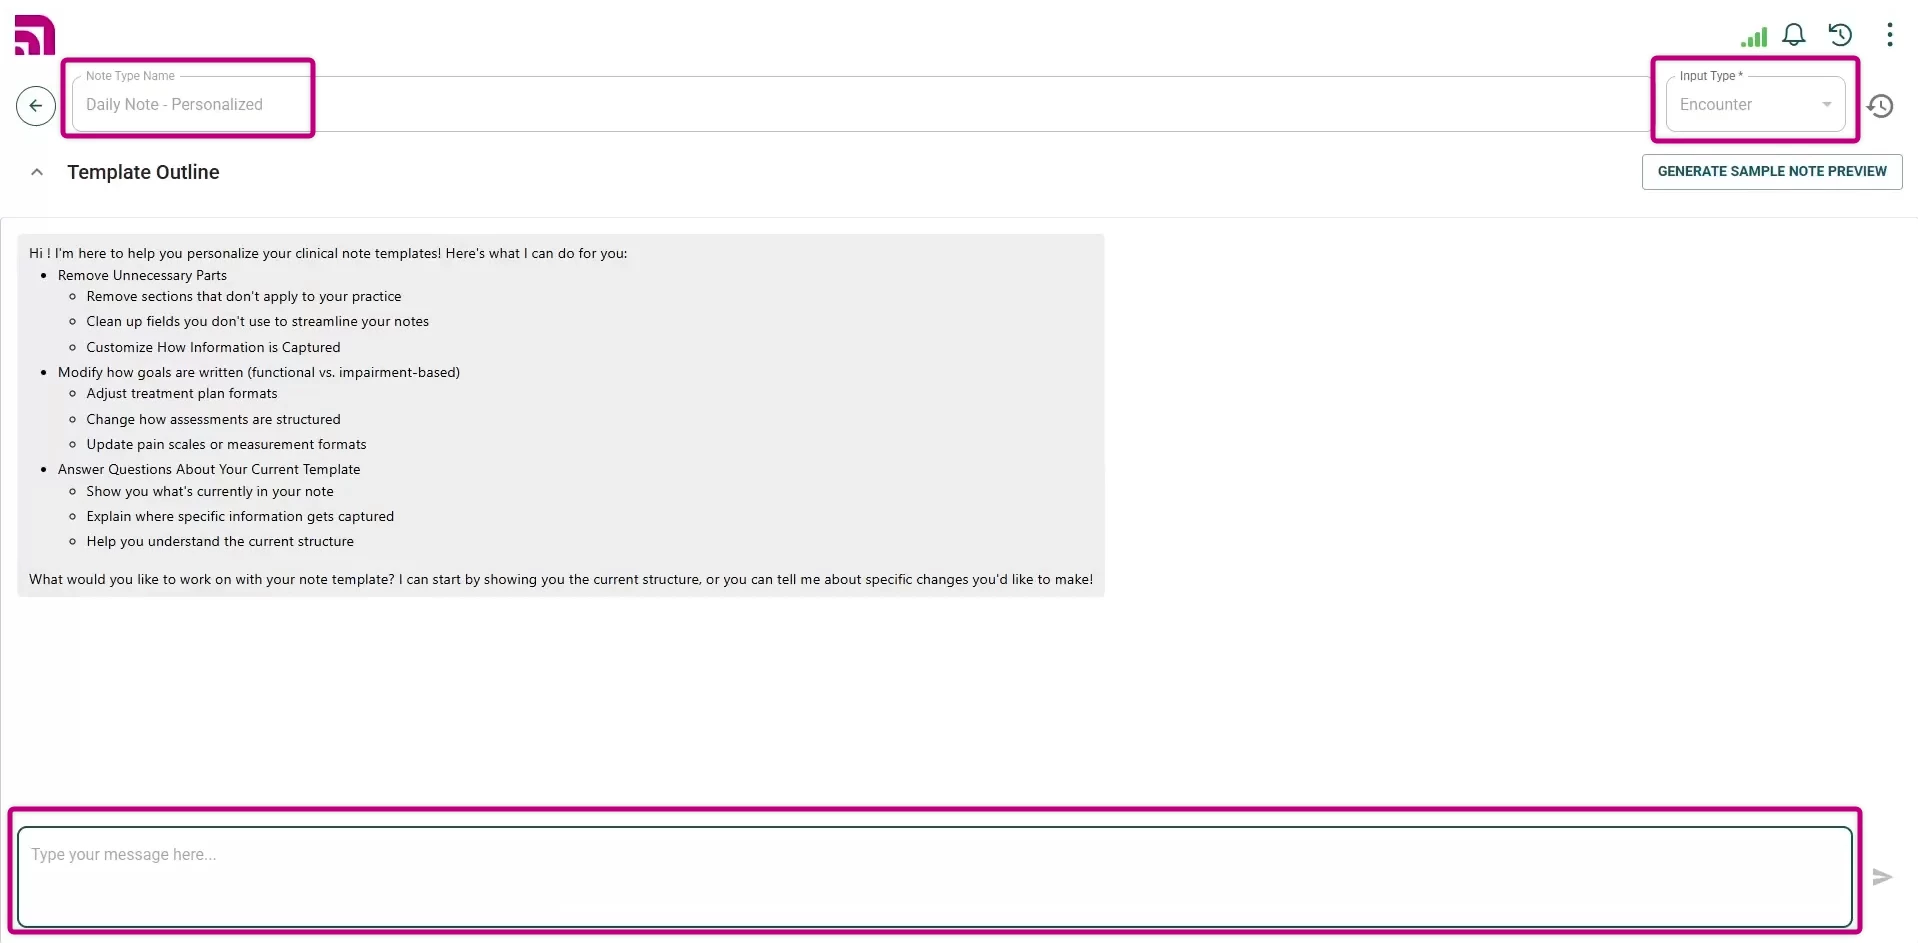
- The Template Outline screen will display.
Review and Modify the Template Outline
The Template Outline defines the structure of the note and how the AI Session Assistant generates content.
-
Note Type Name
- Displays the name of the note type.
- Primary note type names are not editable.
-
Input Type
- Determines how data is used to generate the note:
- Encounter: Uses encounter context such as recordings and comments.
- SOAP Note: Uses content from an existing SOAP note to generate supplemental notes (for example, HEP handouts or justification letters).
- Determines how data is used to generate the note:
- Note Sections
- The sections can be configured to:
- Limit the number of sentences.
- Change formatting (paragraph vs. bullet points).
- Remove sections entirely.
- Adjust level of detail consistently across notes.
- To edit the note sections:
- Expand the Template Outline by clicking on the ^ icon.
IMPORTANT: Section descriptions directly control AI-generated output. Use clear instructions and examples when possible.
- Review the list of note sections.
- Use the three dot menu to:
- Edit section descriptions
- Delete sections
- Drag the six dot handle to reorder sections.
- Expand the Template Outline by clicking on the ^ icon.
- The sections can be configured to:
Refine your Template with the AI Chat Editor
The AI Chat Editor appears below the Template Outline and allows you to make changes to the Template Outline. Using natural, conversational language instead of manual edits, the AI Chat Editor personalizes how your notes are generated by the AI Session Assistant.
NOTE: If the Template Outline is expanded, you may need to collapse it to view the AI Chat Editor.

You can use the chat to iteratively refine your template.
- Scroll to the AI Chat Editor and click within the message box.
- Enter instructions such as:
- “Show me the current note structure.”
- “Limit the Subjective section to four sentences.”
- “Remove the Assessment section.”
- “Use bullet points in the Objective section.”
- Review the AI confirmation of changes.
- Continue refining until the template matches your expectations.
- You can also request:
- Reordering note sections
- Adding new sections
- Modifying existing section content
- Increasing or reducing detail in specific sections
- Adding standard language that appears in every note
-
NOTE: The chat is not limited to the examples above. If you are unsure how to make a change manually, describe what you want to accomplish and the AI should be able to accommodate.
- You can also request:
The AI applies changes directly to the template and confirms updates as they are made.
Generate a Sample Note Preview
You can use the Generate Sample Note Preview to validate formatting and content before using the note in live documentation.
NOTE: No real encounter data is created during this process.
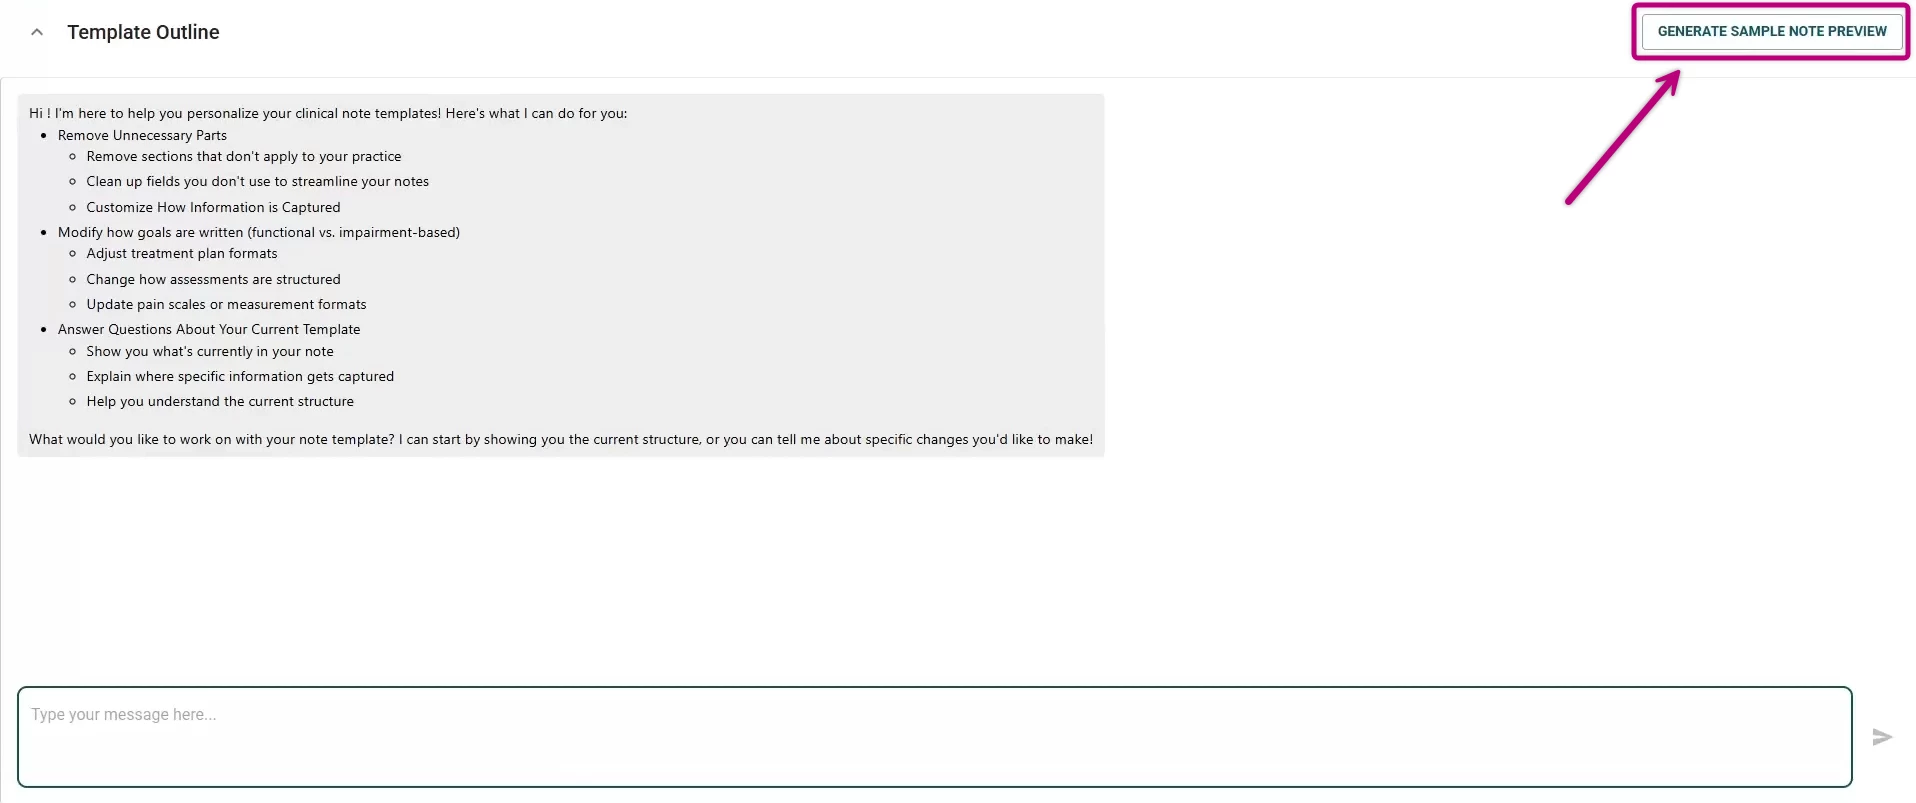
- Select Generate Sample Note Preview.
- Choose a Mock Context or enter your own in the Enter a Custom Context field.
- Click Generate Preview.
- The AI Chat Editor will generate a note preview for this note type with its current outline.
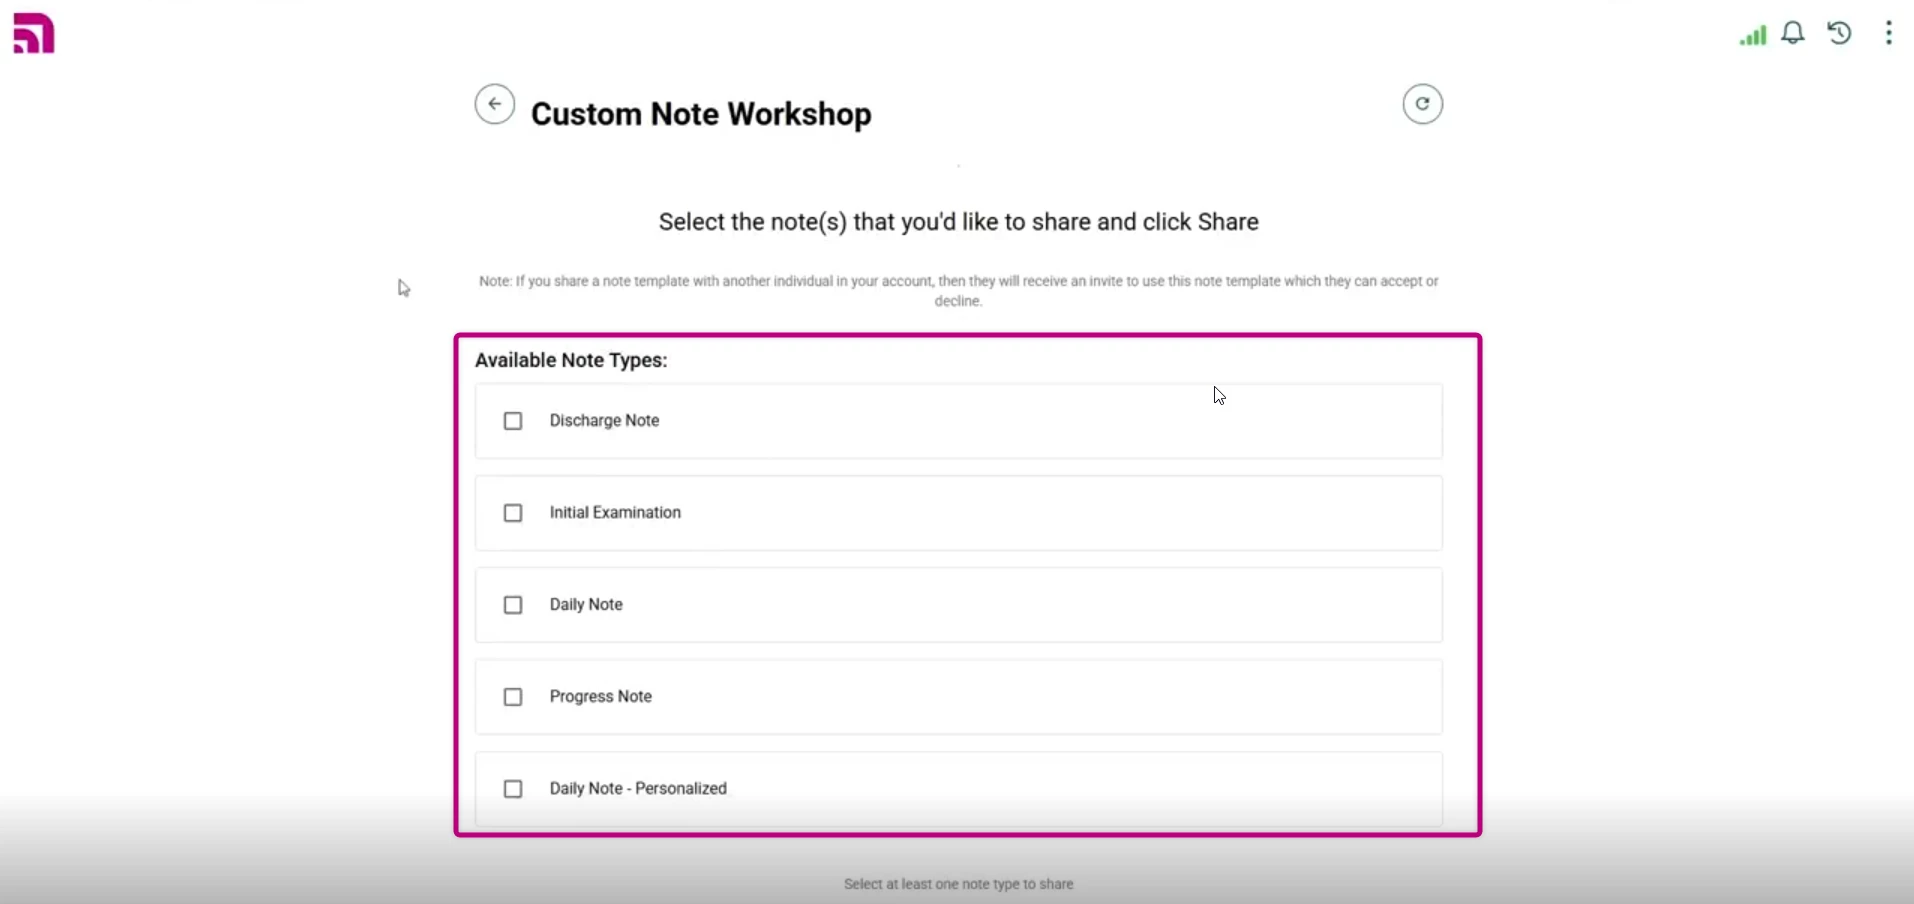
Share an Existing Note Type
Custom note types can be shared with other users in the same organization.
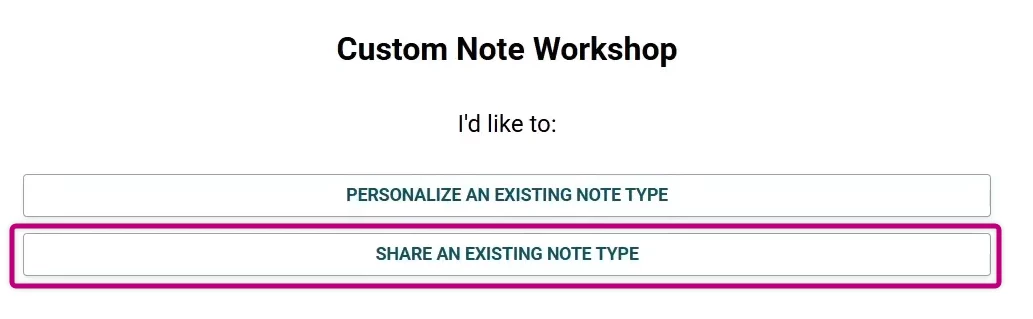
To share a note type:
- Click the Share an Existing Note Type button.
- Select the checkbox(s) next to the note type(s) you’d like to share.
- Choose one or more users from the dropdown user list.
- Click the Share Selected Notes button.
The receiving user(s) will receive a request to accept or decline the addition of the shared note type to their user profile.