
Jump to Section:
Overview
The View Batch screen lists all payment records associated with a batch.
To view a batch:
- In the Batches tab, click within the existing batch row.
- The View Batch screen will open. An example is shown below.
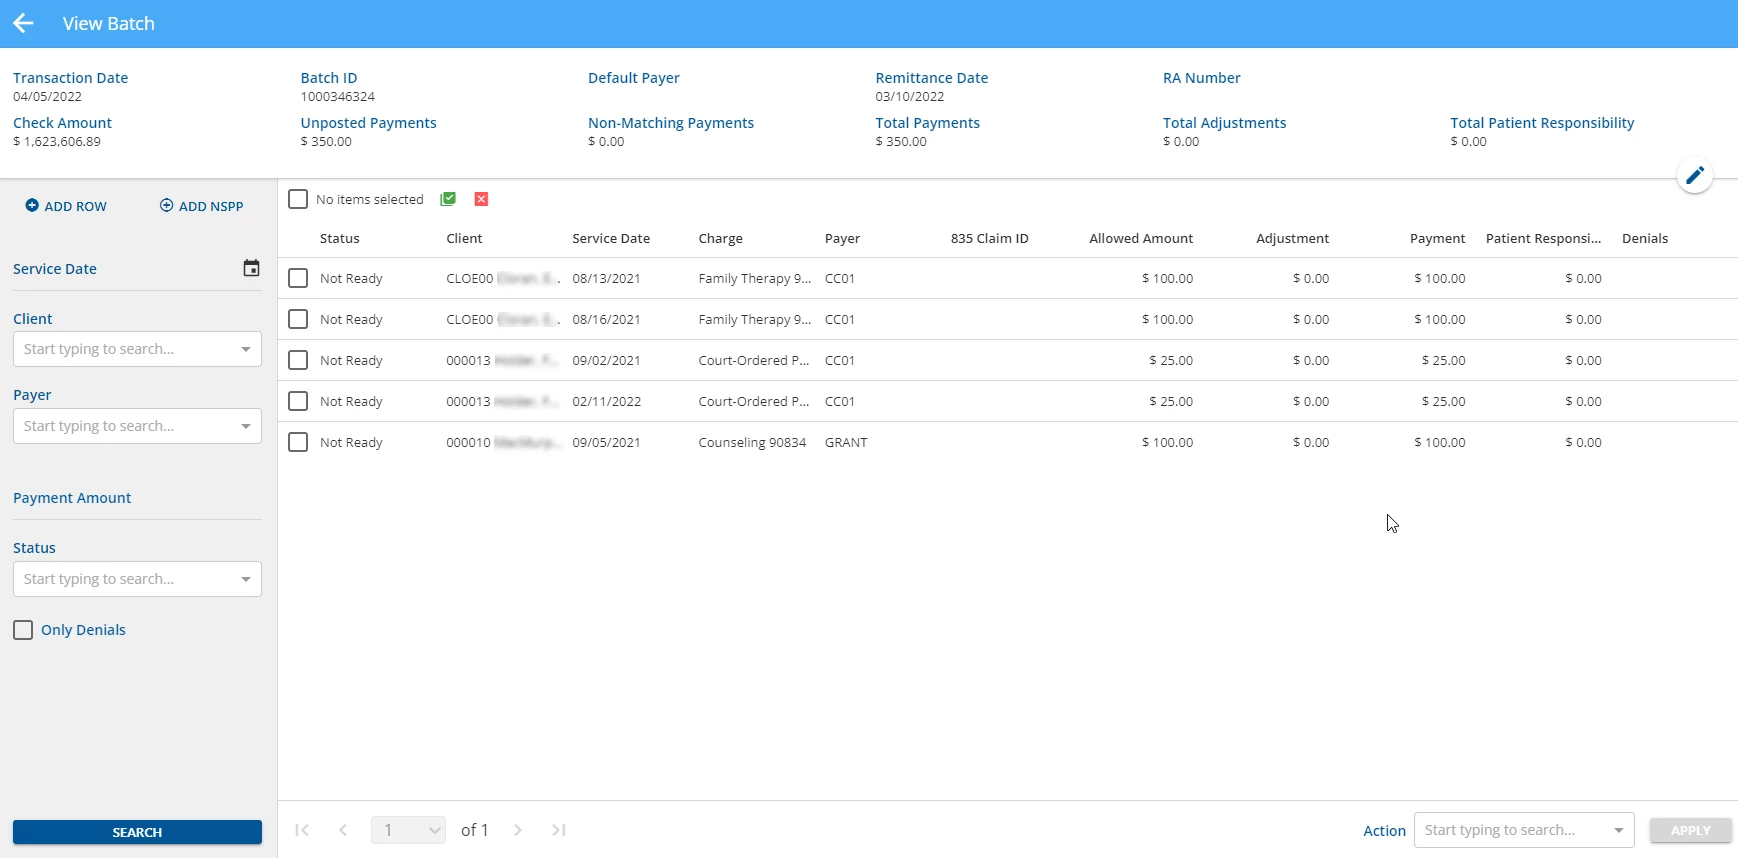
The header area displays summary information about the Batch. The following information is entered on the New Batch or updated on the Edit Batch screens:
- Transaction Date
- Batch ID
- Default Payer
- Remittance Date
- RA Number
- Check Amount - Check amount reported from the 835 file.
- Unposted Payments - Includes the total of all payments with a status of "Not Ready" or "Ready". Done remittances are not included.
- Non-Matching Payments - Includes the total of all payments with a status of "Done" and with no matching charge.
- Total Payments - Includes payments from all remittances in the batch, regardless of status.
- Total Adjustments - Includes adjustments from all remittances in the batch, regardless of status.
- Total Patient Responsibility - Includes Patient Responsibility amounts from all remittances in the batch, regardless of status.
NOTE: The displayed Payments, Adjustments, and Patient Responsibility fields are system-calculated values that are updated each time new payments are added or existing payments are edited.
Click the blue pencil icon within the header area to edit the batch if needed.
The following filters are available to the left of the remittance rows to refine search results to expedite locating a specific payment record:
- Service Date
- Client
- Payer
- Payment Amount
- Status
- Only Denials
NOTE: These filters persist when navigating between batches and to other application screens until the filters are cleared.
Click the blue Search button to search results with filter criteria.
NOTE: All remittances within a batch will be present automatically if no search is completed.
Use the individual check boxes to select or deselect individual charges to include in the Create Bills job. Selections persist as users navigate page to page.
IMPORTANT: Two buttons are available to quickly select all results, across all pages.
- Click the green square button to Select All Results.
- Click the red square button to Clear Results and deselect all line items.
NOTE: The checkbox to the left of the bulk selection buttons will only select/deselect all the first page of results, which are the 50 most recent charges.
Select any remittance row to open the Edit Row screen and view/edit the payment information.
See the Edit Row in a Batch article for more information.
Add Rows & Non-Specific Payer Payments
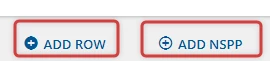
- Click the blue +ADD ROW button to open the New Row screen to manually enter a payment record to the batch.
- See the Add Row to a Batch article for more information.
- Click the blue +ADD NSPP to add a Non-Specific Payer Payment. This will open the Non-Specific Payer Payment form within the screen.
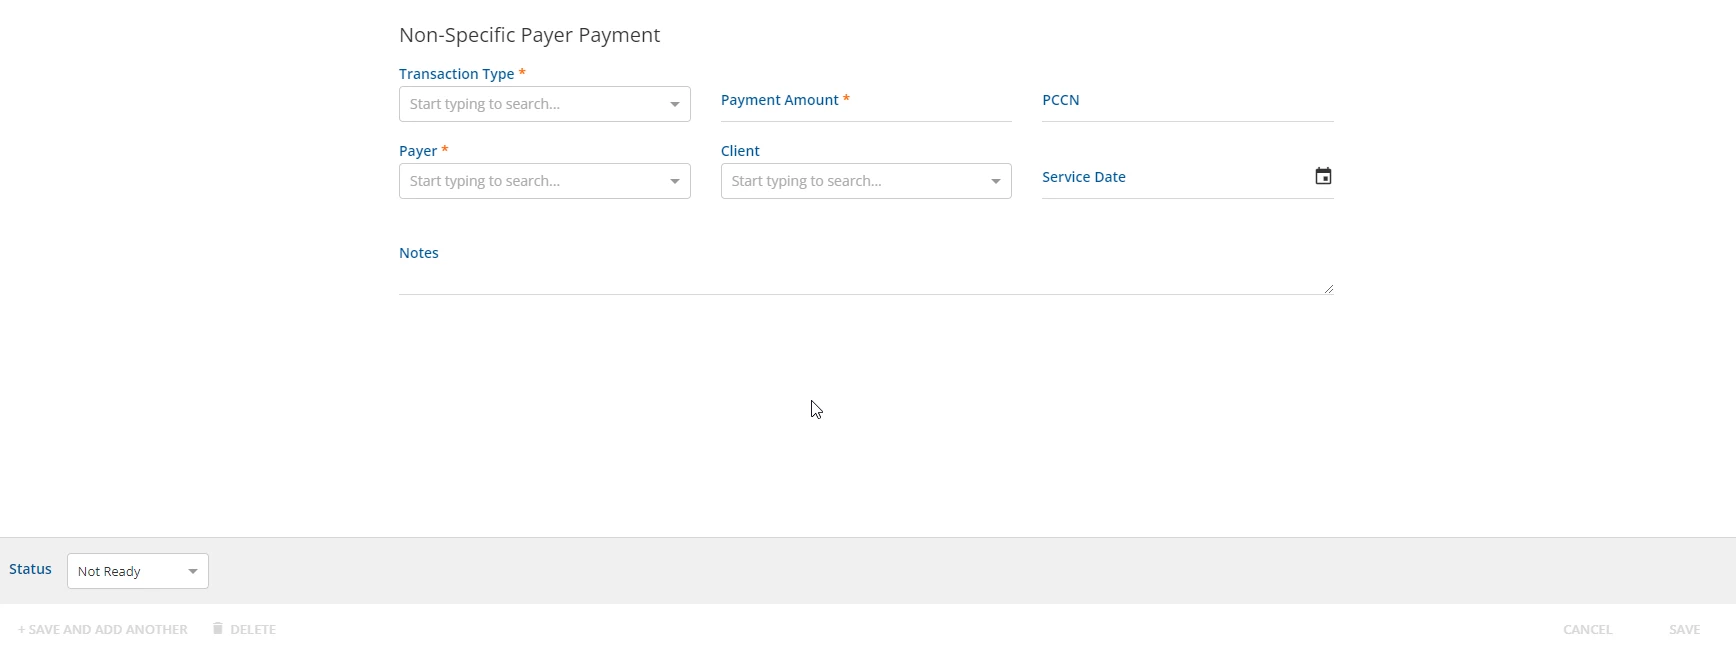
- Enter data into the required fields.
- Click the blue Save button or the blue + Save and Add Another text button to save the payment record.
- A pop up message will display to notify the user the record was successfully saved.
Bulk Actions
There are bulk actions available that can be applied to all or selected records in a batch. Users can click green square icon to Select All Results. This will select all rows within the batch search results. To Clear All Results selection, click the red square icon. To deselect specific rows, click the checked checkbox and the row will deselect.
Once rows are selected, the user can select a number of bulk actions in the Action field:
- Mark Ready
- Mark Not Ready
- Mark Done
- Delete
Click the blue Apply button to complete the bulk action.
A pop up message will display to notify the user the record was successfully saved.
IMPORTANT: Users have the ability to mark Not Ready remittances as Done. The remittances will remain in the database. The conversion to Done status will prevent the remittances from posting when continuing the billing process. The amounts from the Not Ready > Done remittances are totaled within Total Payments.