
The Batches tab streamlines and reorganizes the payment entry and reconciliation processes. A batch is like a check, whether paper or electronic funds transfer, and the Batches screen lists summary information for each of these "checks".
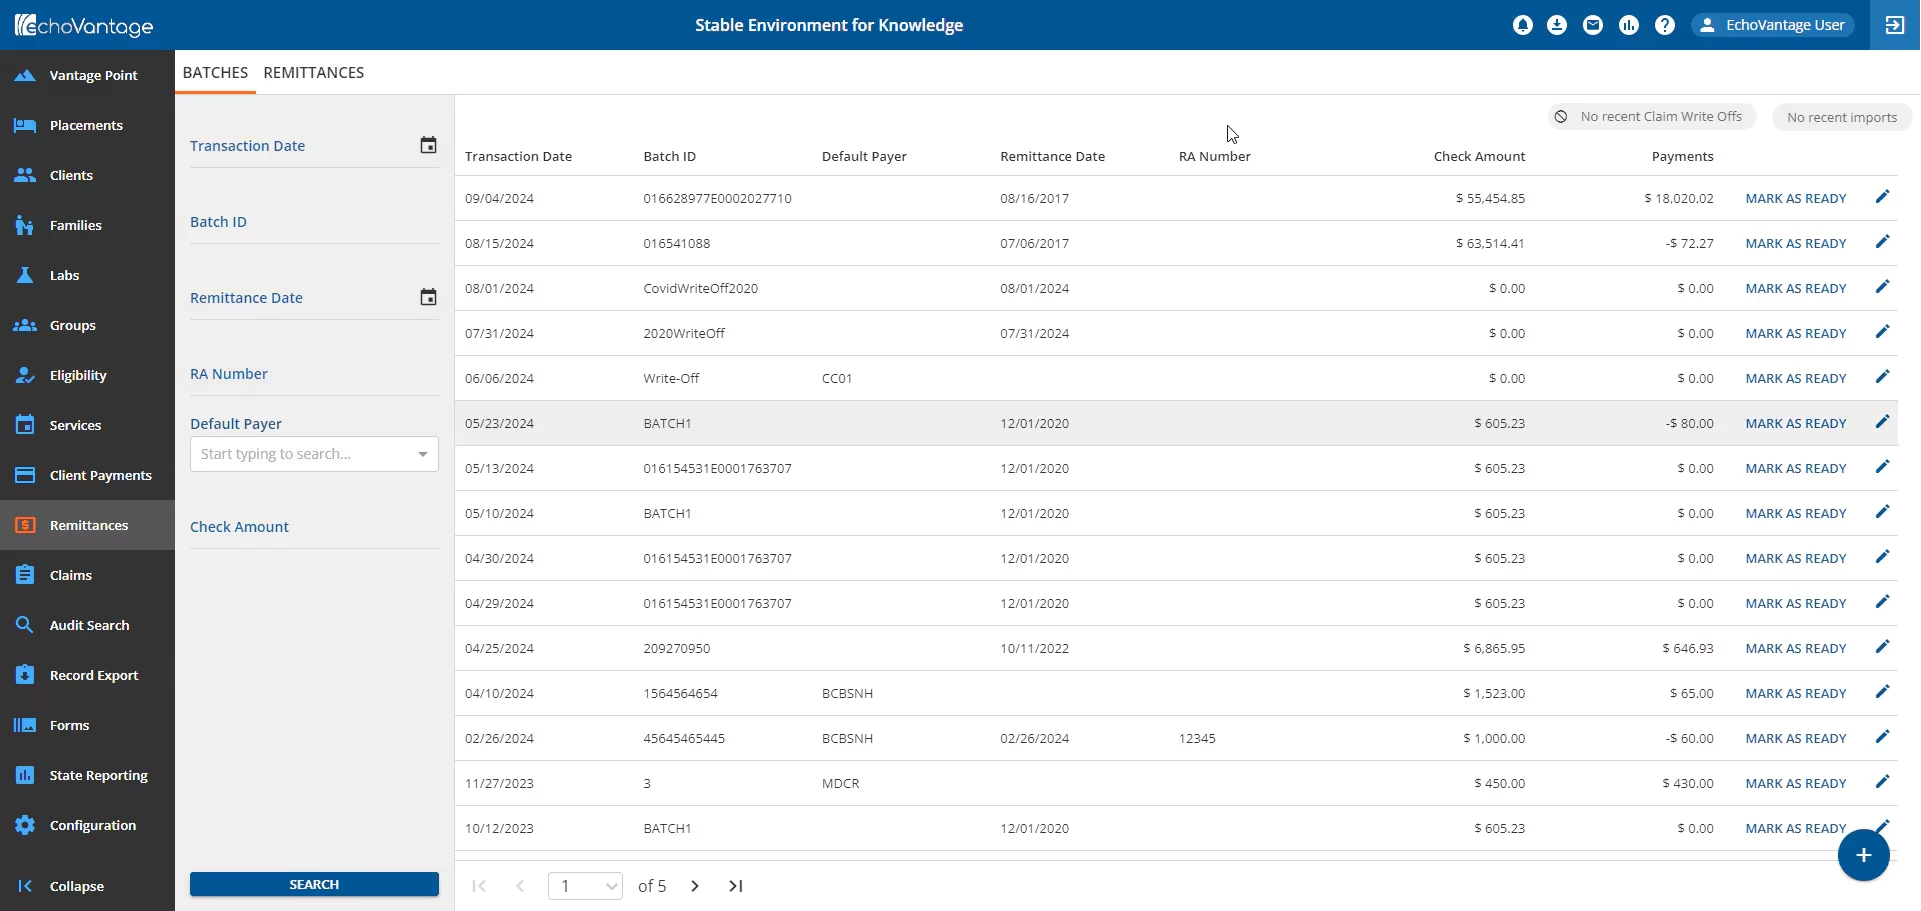
"Not Ready" batches are grouped and listed first, sorted by Transaction Date, newest to oldest. A "Not Ready" batch is when any of the associated remittances within the batch have a Not Ready status. Once batches are added, either manually or via the 835-import process, selecting any batch row will open the View Batch screen. See View a Batch for more information about the actions available within the View Batch screen.
Add a Batch
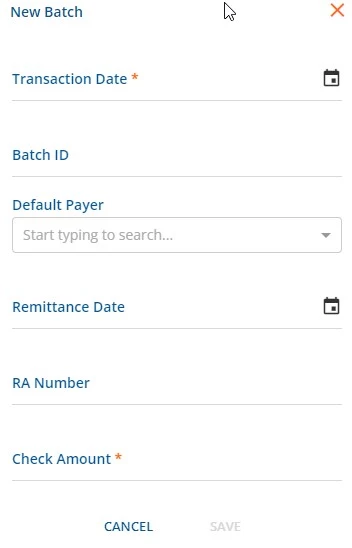
- Click on the blue + button to manually add a batch.
- The New Batch screen will open, as shown below.
-
- Enter data within the required Transaction Date and Check Amount fields, along with any additional data necessary.
- When the Default Payer is entered:
- It displays on the Batches screen between Batch ID and Remittance Date.
- It also displays in the header on the View Batch screen and can be used to filter results.
- When adding a row to a Batch, the Payer field is auto-populated with the Default Payer entered, but can be changed.
- When the Default Payer is entered:
- Click the blue Save button.
- After saving, the View Batch screen for the new batch is displayed.
Import 835
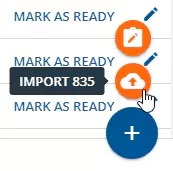
- Hover over the blue + button and click the orange cloud Import 835 button.
-
- A system window will pop up for the user to select the 835 file for import.
-
NOTE: The 835 Import process will automatically use the value from the TRN02 Segment as the Batch ID.
-
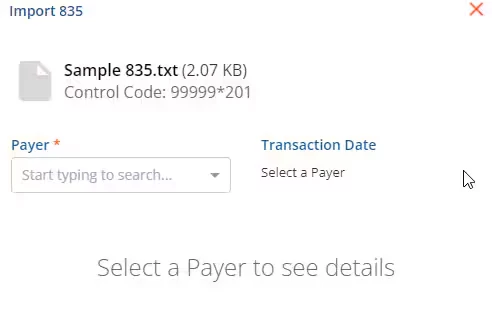
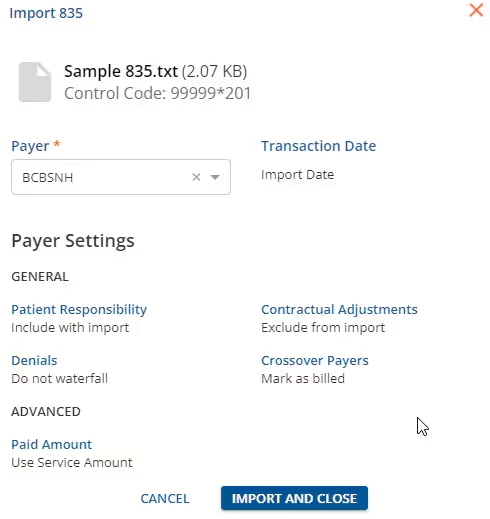
- The Import 835 window will display.
-
- Select a payer from the Payer dropdown field.
-
NOTE: The payer selected is used as Default Payer for the batch.
-
- Once a payer is selected, the window will display Payer Settings that were configured in Configuration - Services/Payers > Payers for this specific payer.
-
- Click the blue Import and Close button to complete the import process.
-
NOTE: RA Number is not populated by this process but can be added after the import is complete by editing the batch.
-
- A pop up message will appear in the top right corner of the screen to notify the user if the action was successful.
Claim Write Off
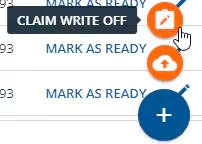
- Hover over the blue + button and click the orange cloud Import 835 button.
-
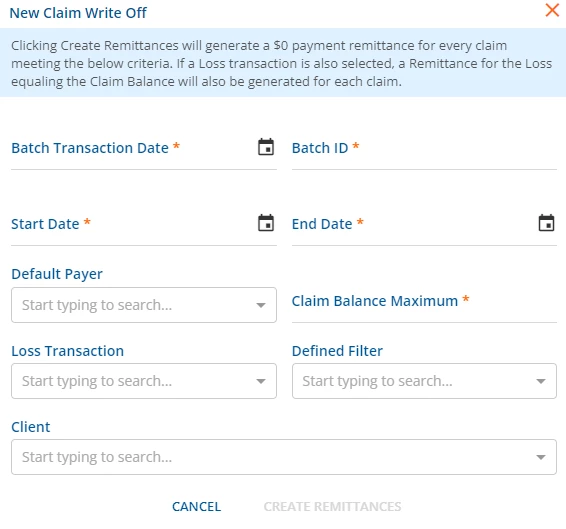
- The New Claim Write Off screen will open, as shown below.
-
-
NOTE: A message at the top of the window is present to explain the Claim Write Off creation process, as pictured above.
-
- Enter data within the required Batch Transaction Date, Batch ID, Start Date, End Date and Claim Balance Maximum fields, along with any additional data necessary.
- Click the blue Create Remittances text to create remittances with the entered criteria.
-
NOTE: As stated previously, this action will create remittances for every claim meeting the entered criteria.
-
- A pop up message will appear in the top right corner of the screen to notify the user the request is in progress.
- In the top right corner of the screen, the Claim Write Offs list marker will change to a blue arrow cycle icon to depict the number of claims in progress.
-
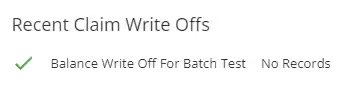
- The marker will change to a green checkmark icon when the process is complete.
-
- Click the marker to display recently completed balance write offs within the Recent Claim Write Offs view..
-


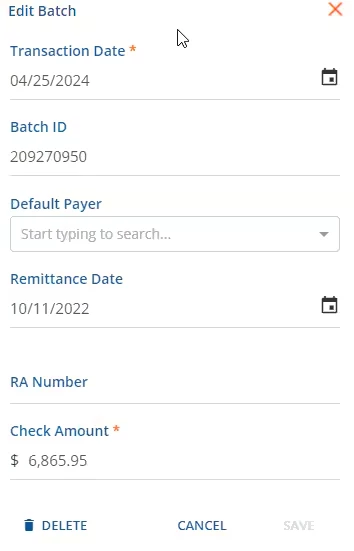
Edit a Batch
To edit a batch:
- Click the blue pencil icon on the far-right of the batch row.
- The Edit Batch window will display with the existing batch information.
-
-
IMPORTANT: If at least one of the remittances within the batch have been converted into a payment, a message notifying the user will be present at the top of the window. Additionally, the batch cannot be deleted.
-
-
-
NOTE: Updates to the Default Payer field will also update the Batches and View Batch screens, but will not update the payer on any existing remittance row.
- Click the blue Save button to complete changes to the batch.

An option to delete a batch is available. To delete a batch:
- Click the blue pencil icon to open the Edit Batch window.
- Click the blue Delete trash icon.
- A Confirm Delete window will display. Click the blue Delete button to complete the action.
Bulk Mark a Batch as Ready
Once a batch has payment records, whether manually entered or imported via an 835, users can mark all eligible remittances in the selected batch as Ready. This action is similar to the Bulk actions in the Remittances tab.
- Click the blue Mark as Ready text within the batch row.
-

- Click the blue Continue button to confirm the action.
- A pop-up message will appear in the top right corner of the screen to notify the user if the action was successful.
- The Mark as Ready button will disable if all payments in the batch are successfully processed and are now in Ready, Done, or Batched status.