PERMISSIONS REQUIRED: You must be an Administrator to add and manage Document Headers.
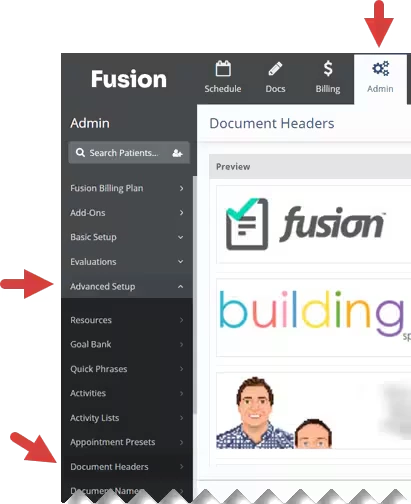
Administrators can create and manage customized headers for patient documents in the Advanced Setup section under the Admin tab. Document headers may contain text, images, or both. After you create a document header, you can assign it to one or more clinic Locations. A document header will only appear on patient documents for the location(s) it is assigned to.
| To access Document Headers:
| 
|
Jump to Section:
Add or Edit a Document Header
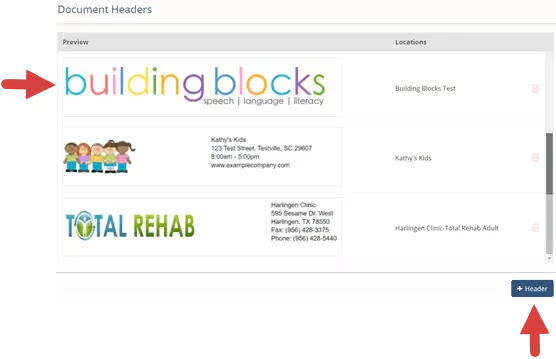
- Click the document header you want to edit, or click the + Header button to create a new document header.
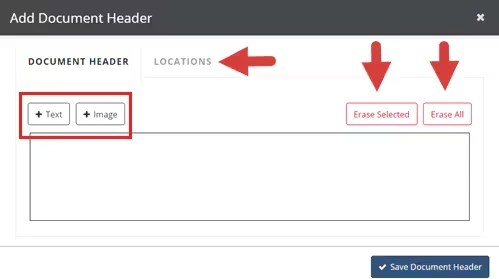
- The Document Header window opens. Manage text and images from the Document Header tab, and manage the locations the header is assigned to from the Locations tab.
- Click the + Text and + Image buttons to add new text and images (See steps 3 and 4).
- Click on an existing image or text box, then click the Erase Selected button to remove that text or image.
- Click the Erase All button to erase all text and images in the document header.
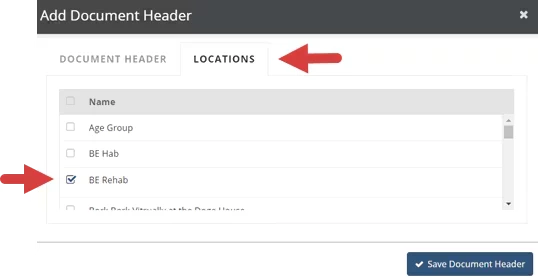
- Click the Locations tab to manage Locations (See step 5).
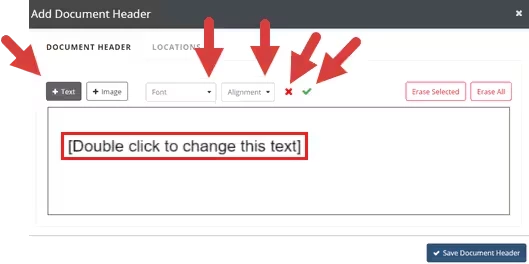
- Click the +Text button to add a new text box.
- Click the Font drop-down to select a font.
- Click the Alignment drop-down to align text to the left, right or center of the document header.
- Click the green Add icon to create a new text box.
- Click a Text Box to select that text box.
- Double-click a Text Box to edit the text in the text box.
- To resize a text box, select it, then click and drag the handles on its edges.
- Click and drag a text box to move the text box.
- Click the red Cancel icon to close the Add Text section.
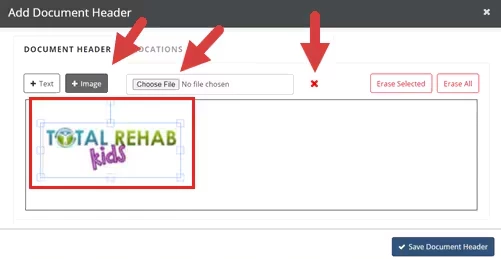
- Click the +Image button to add an image.
- Click Choose File to select an image to upload to the document header.
NOTE: Images must be in jpg or png format.
- Click an image to select that image.
- To resize an image, select it, then click and drag the handles on its edges.
- Click and drag an image to move the image.
- Click the red Cancel icon to close the Add Image section.
- Click Choose File to select an image to upload to the document header.
- Click the Locations tab, then select the Locations that the document header will be assigned to.
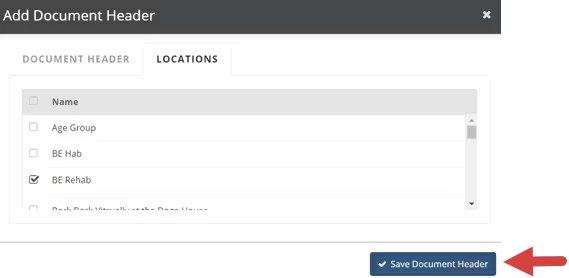
- Click the Save Document Header button.
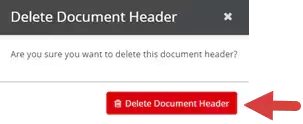
Delete a Document Header
You can delete a document header if it is not assigned to any locations.
- Click the Delete icon to the right of the document header.
- Click the Delete Document Header button.